|
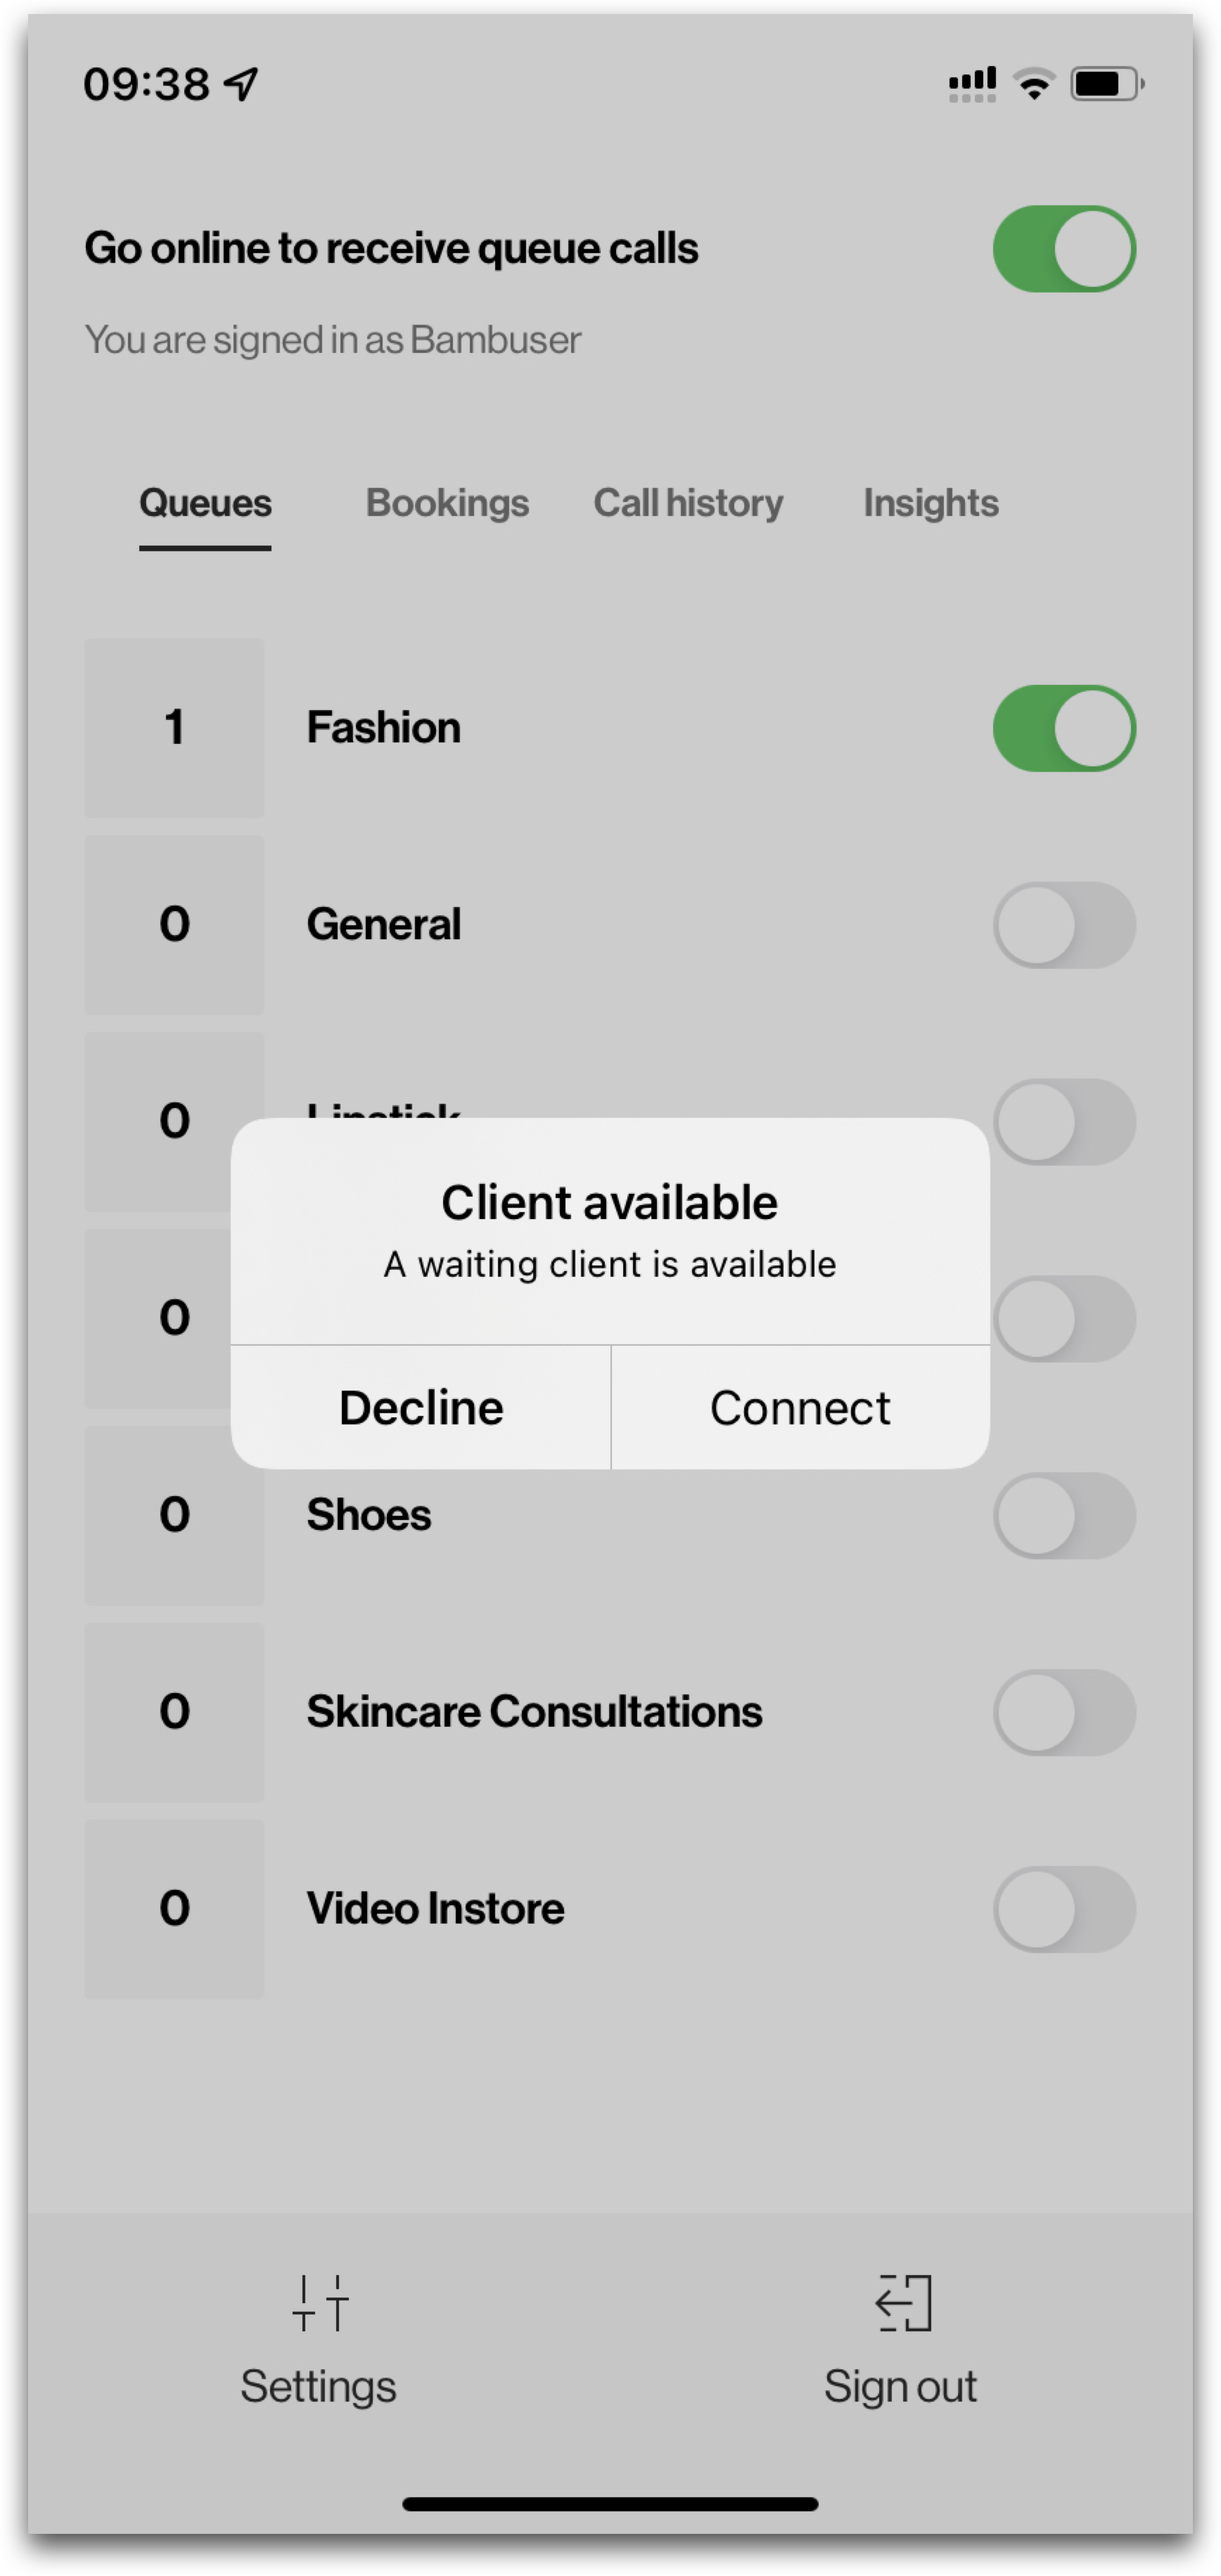
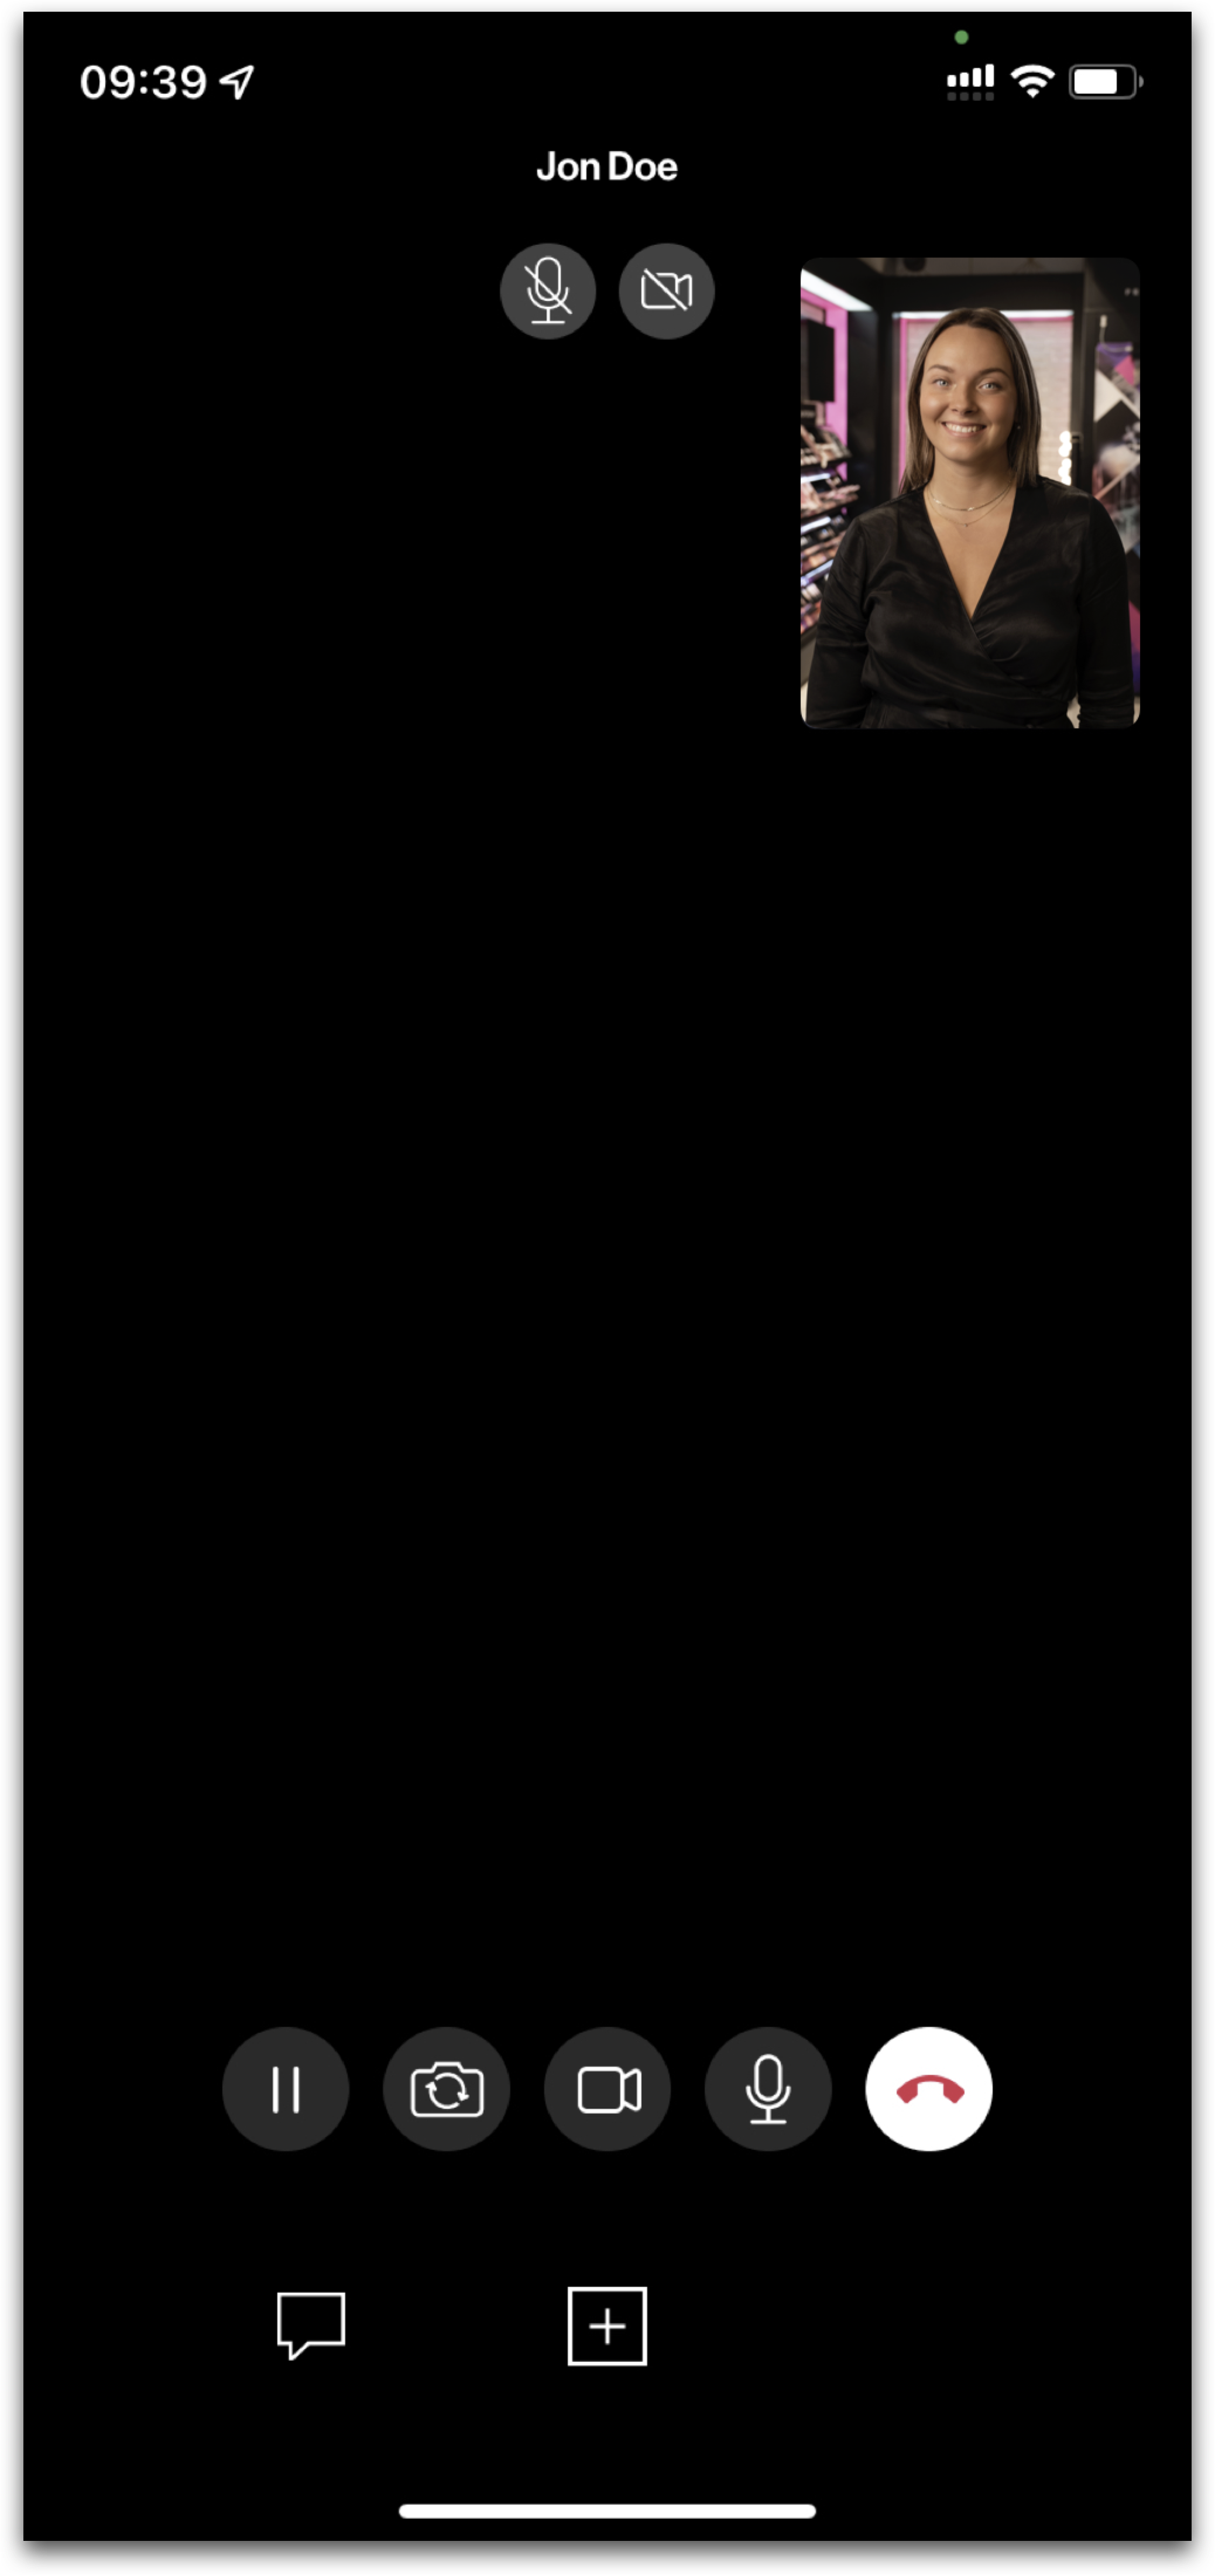
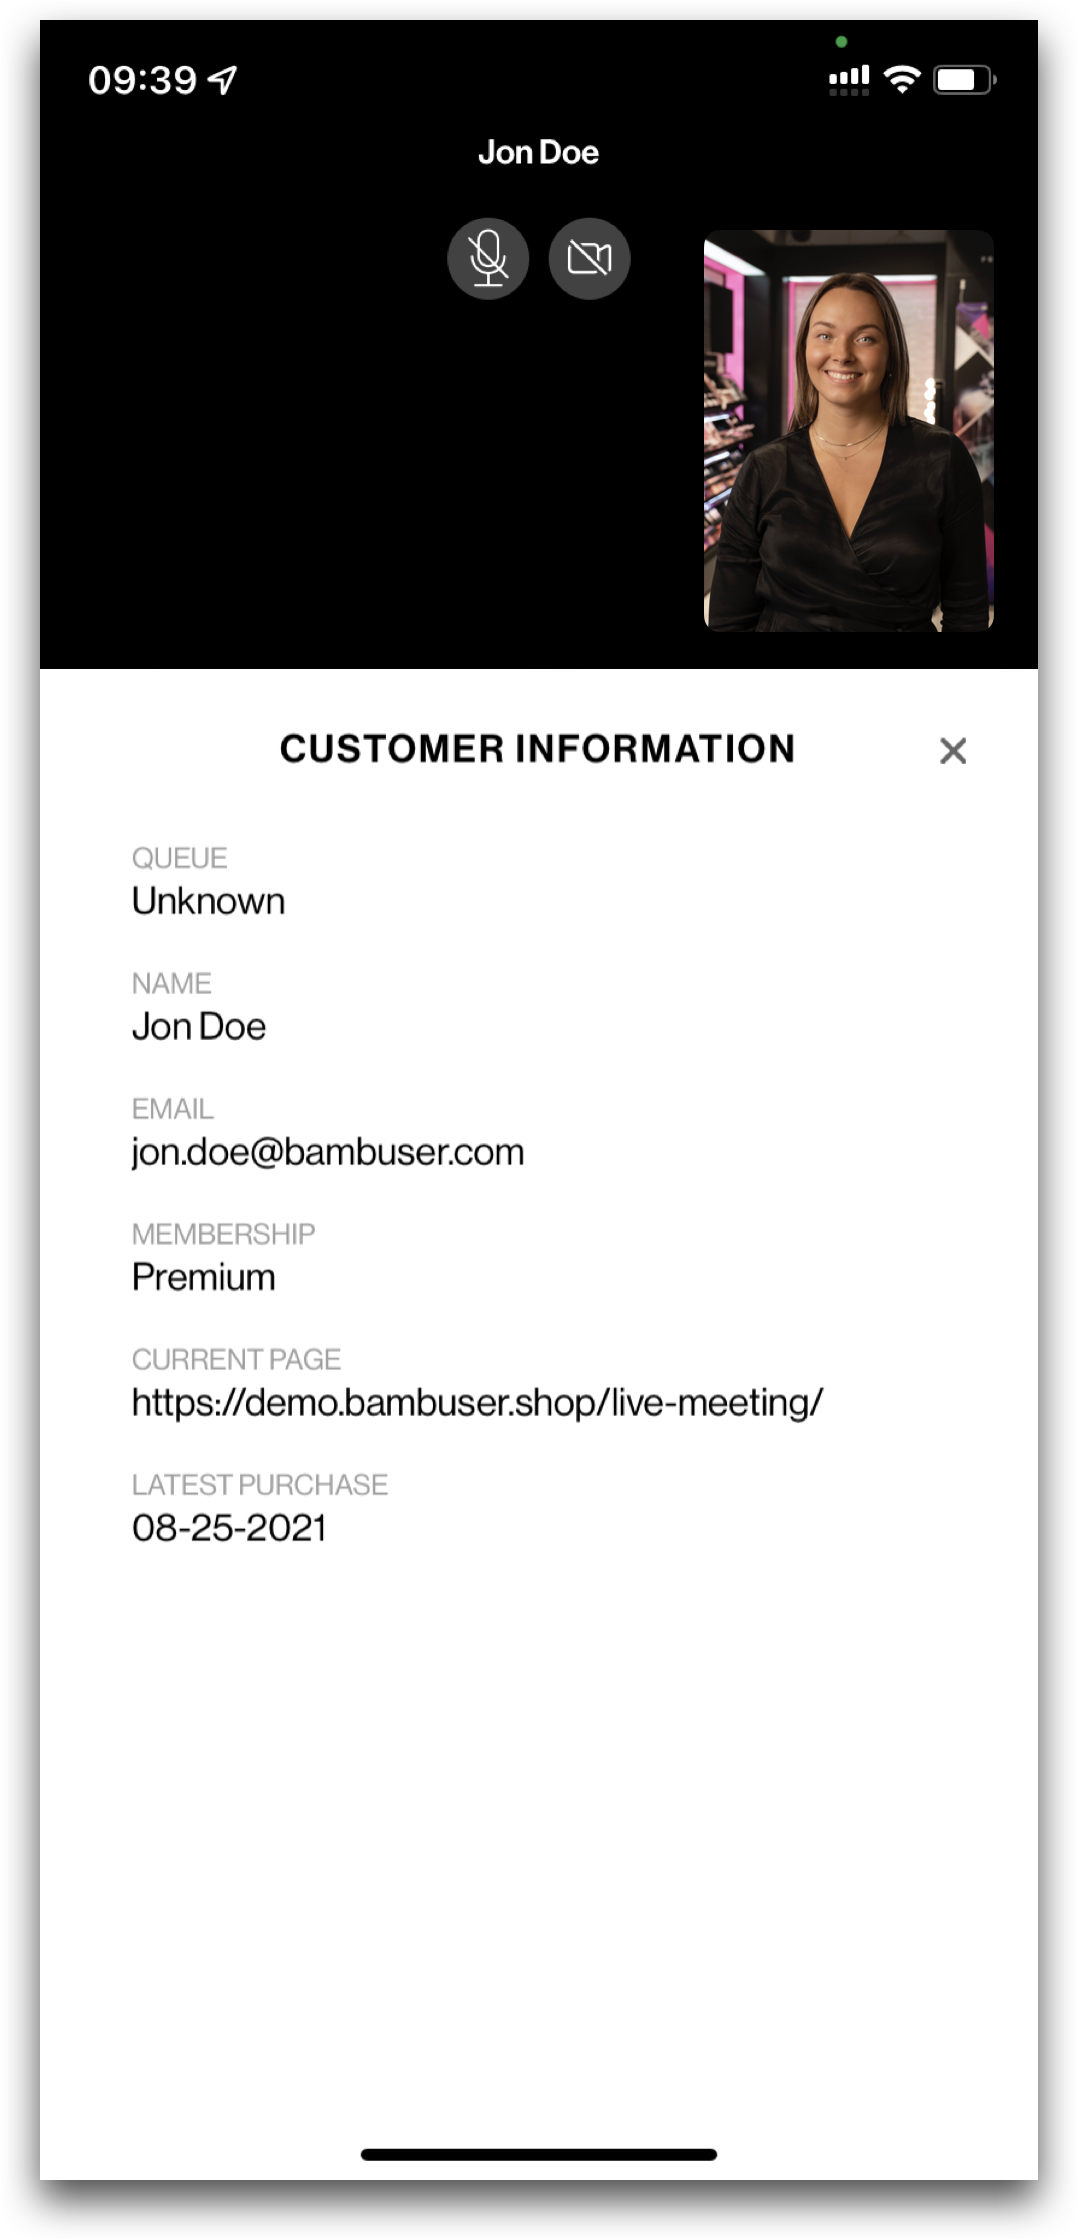
After an agent accepts to serve a client, they get presented with the in-call screen that contains quite a few options and important information about the active call. Agents can see the mic and camera status of their clients currently in the call. They can also see a set of customer information Agents have the standard options like:
|
 |
 |
 |
 |
| Starting screen |
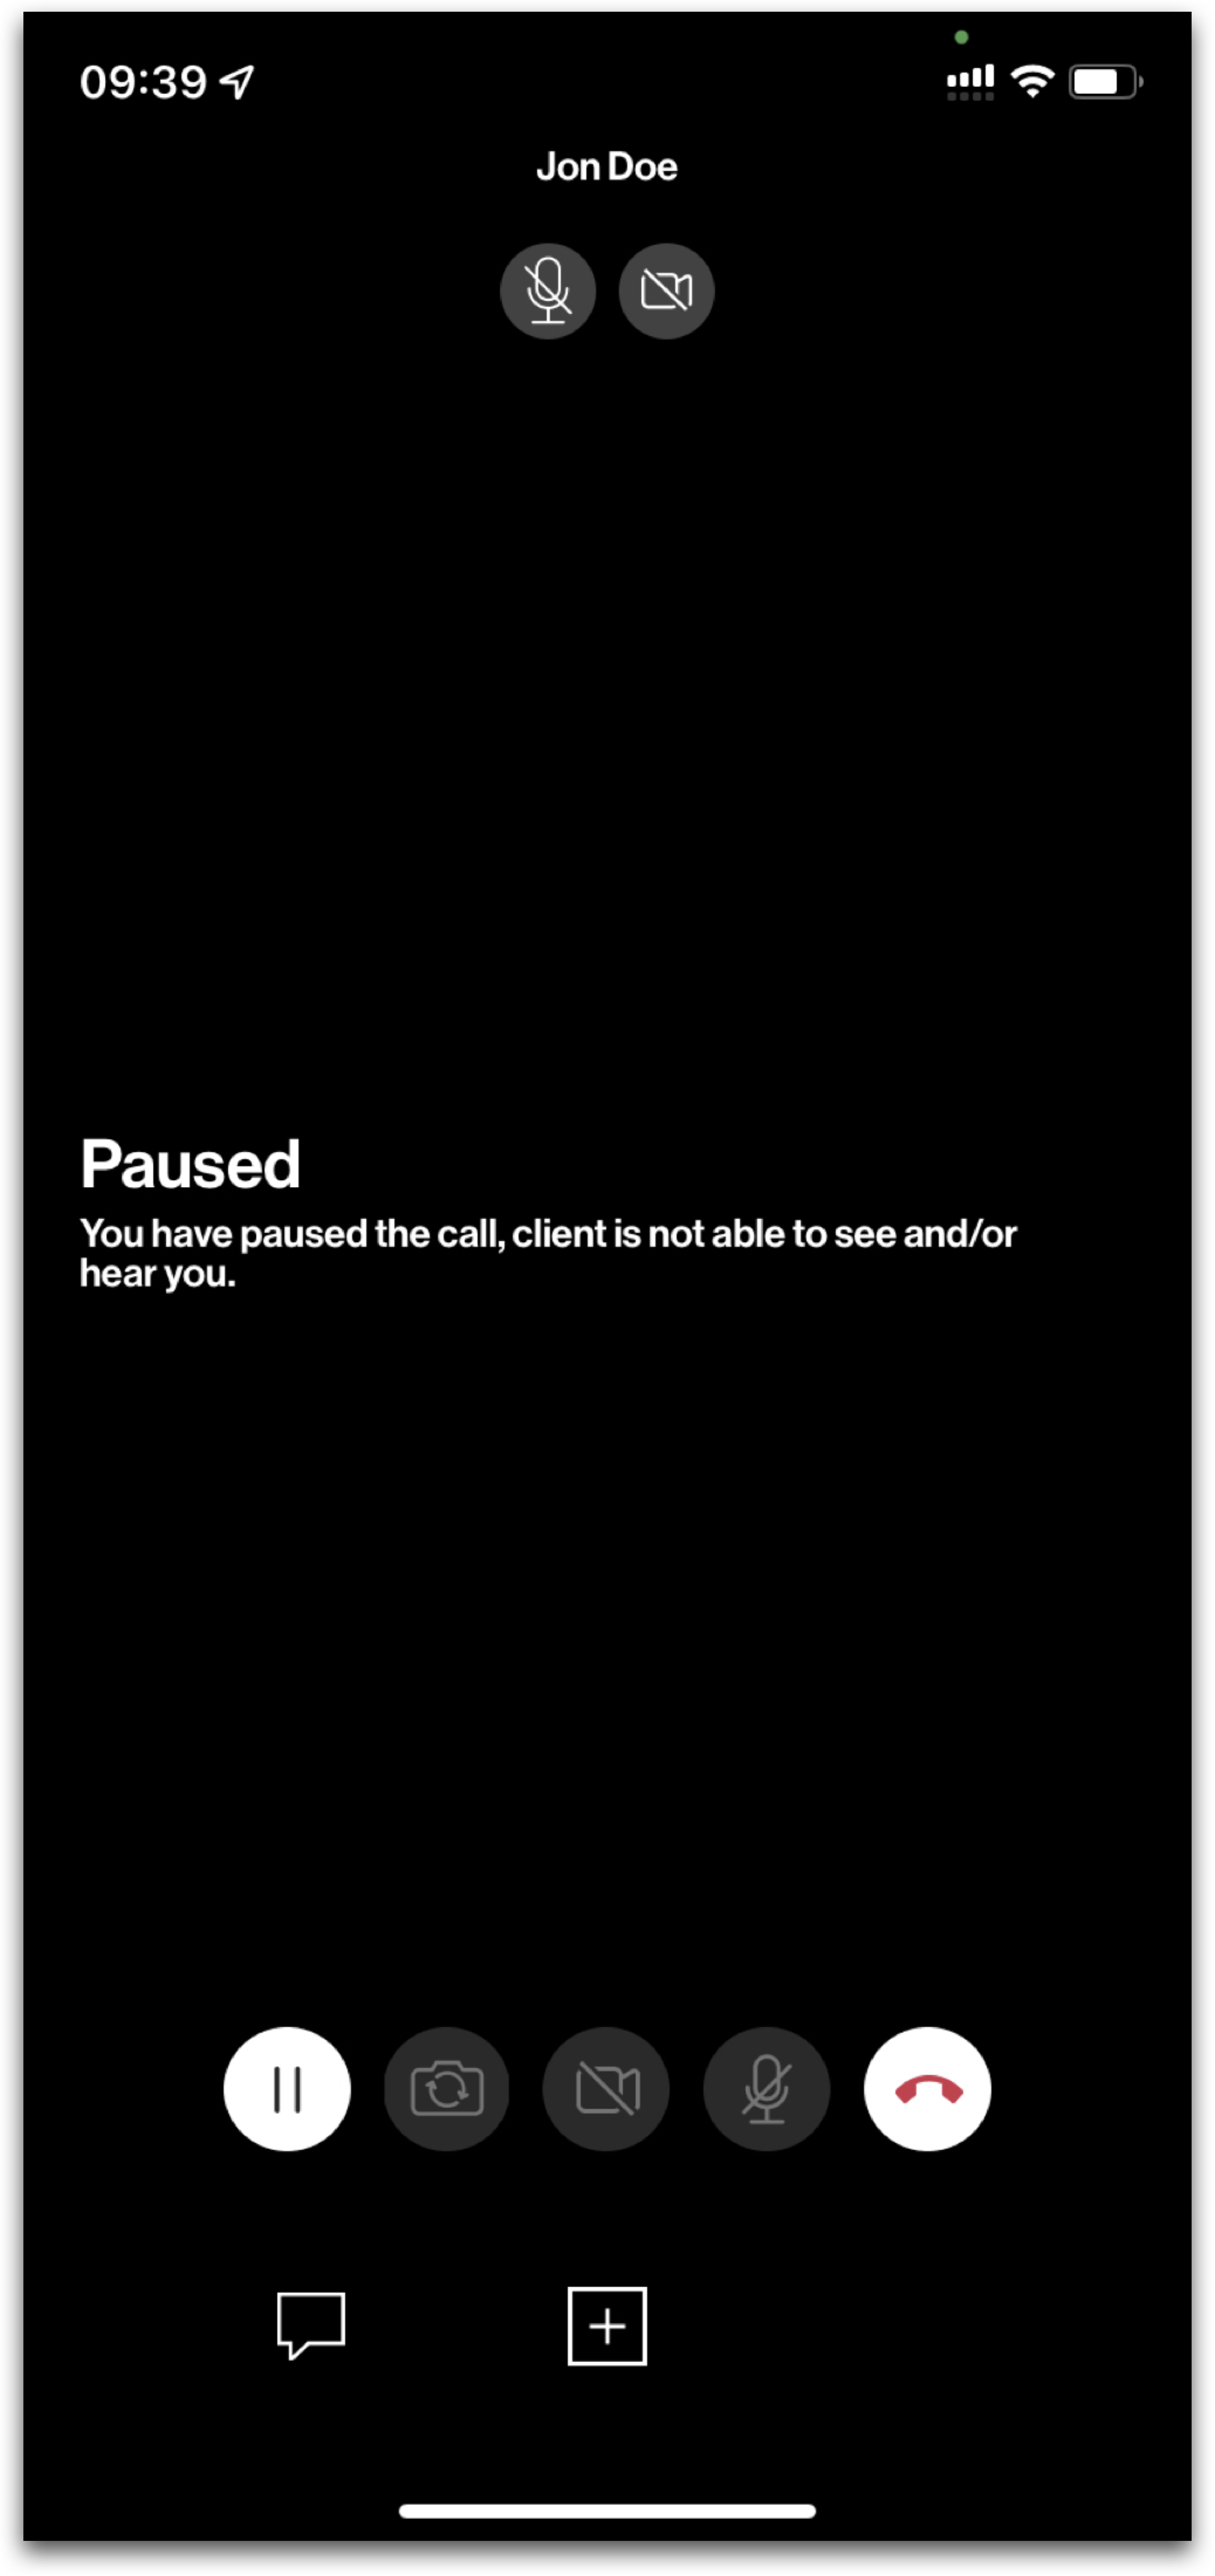
Call paused by the Agent |
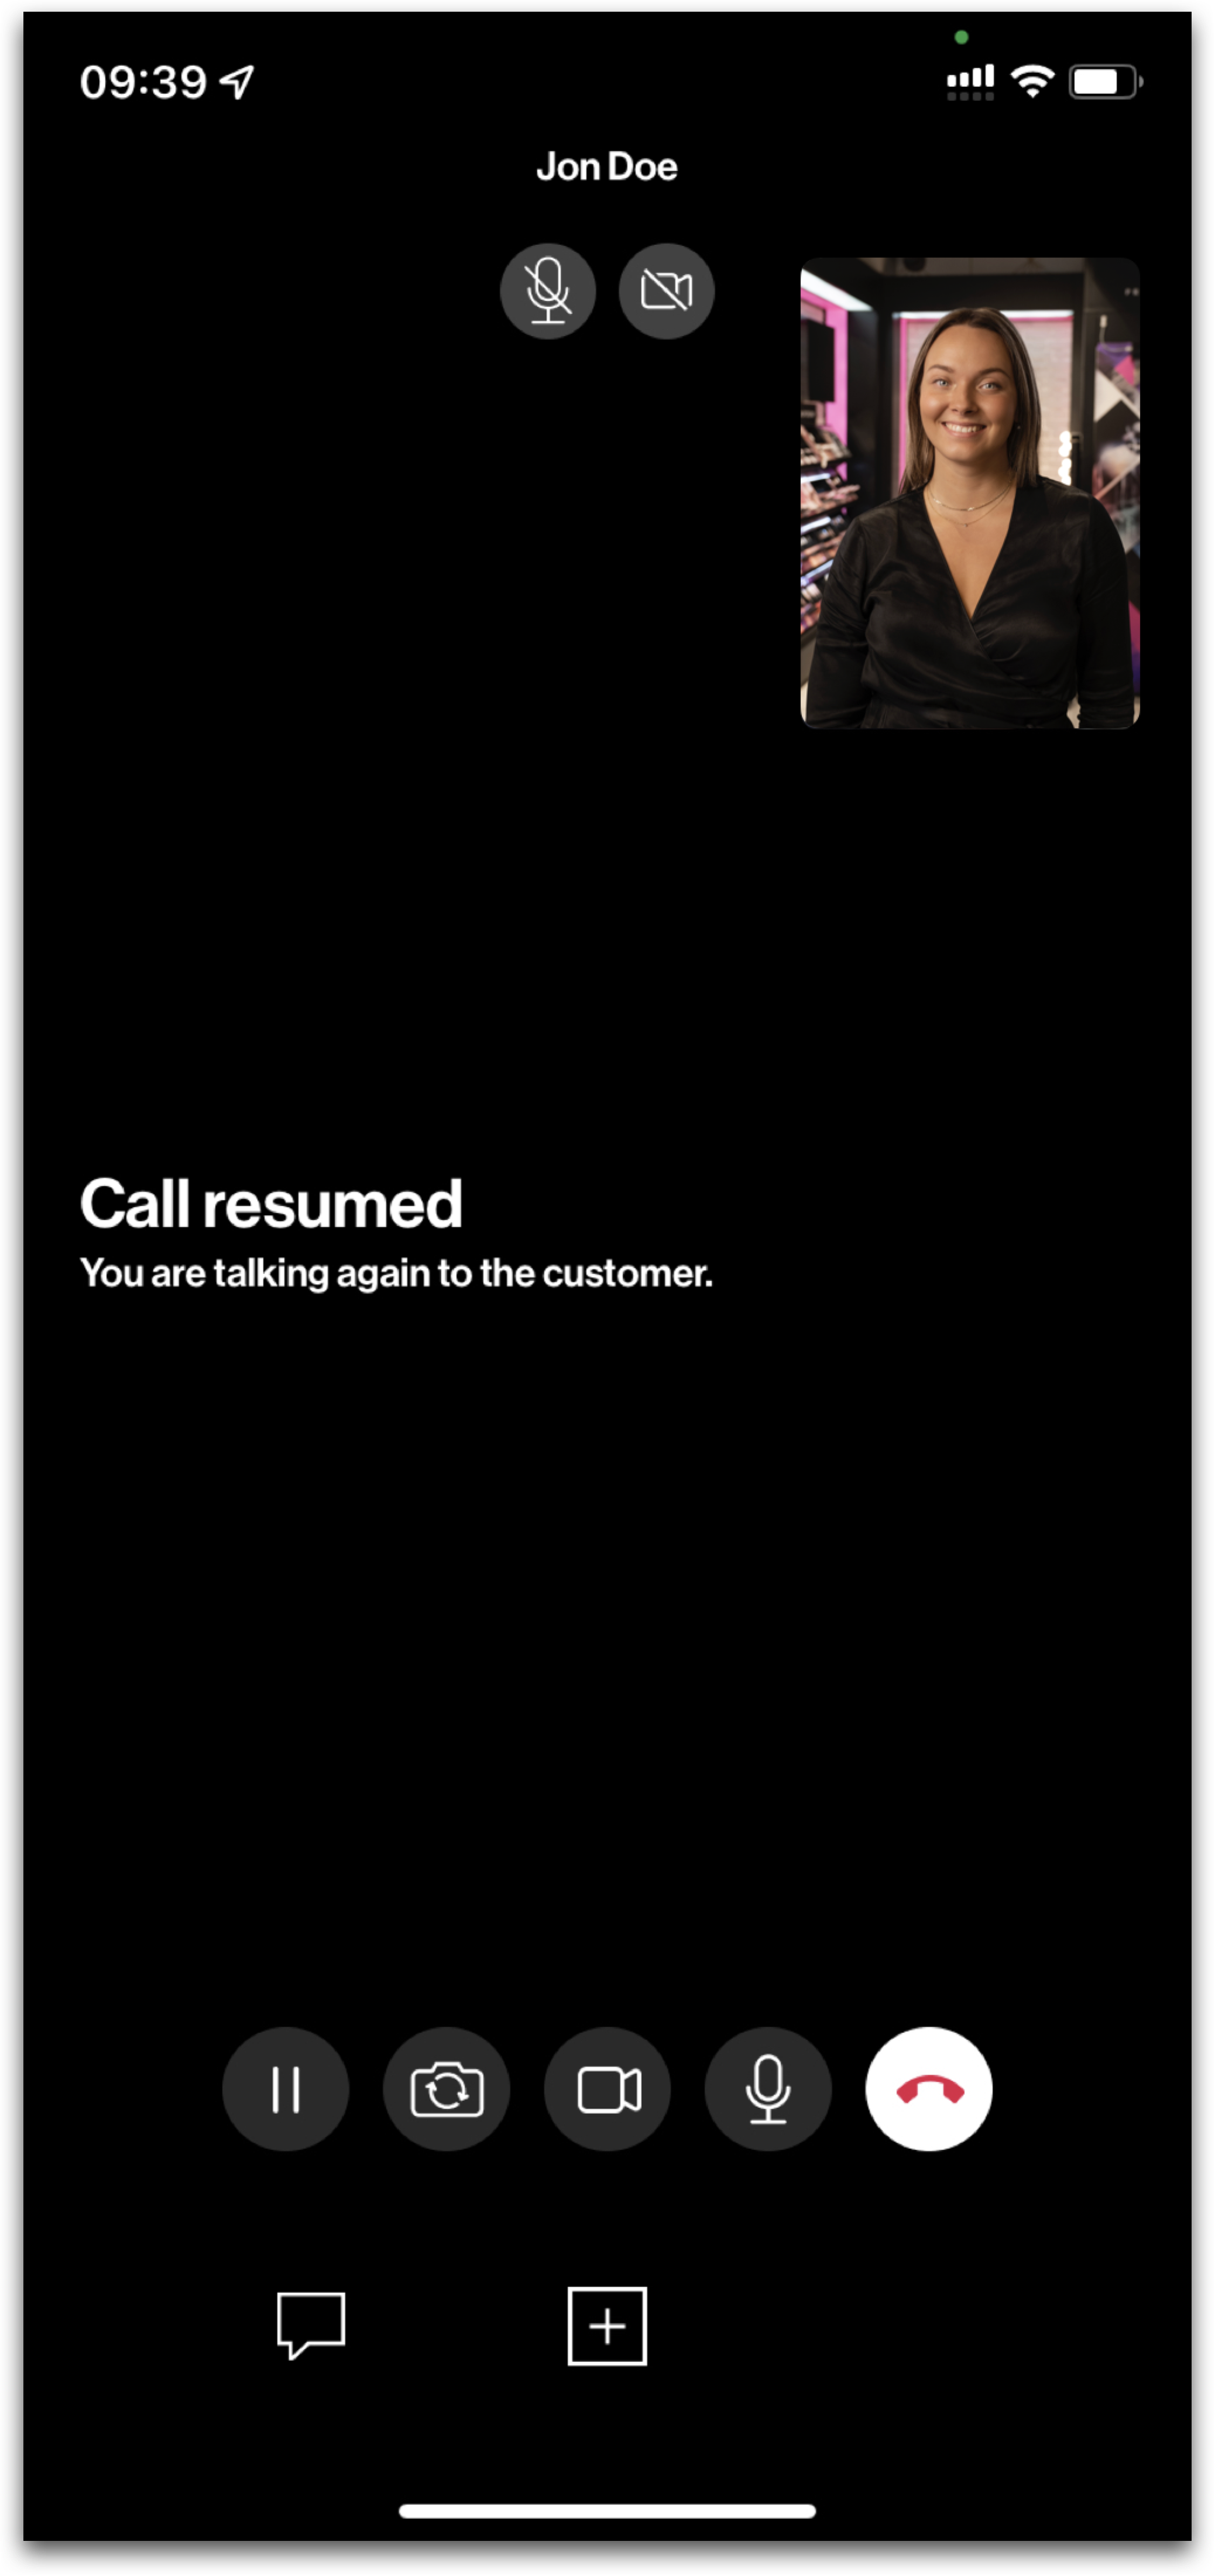
Call resumed by the Agent |
 |
 |
 |
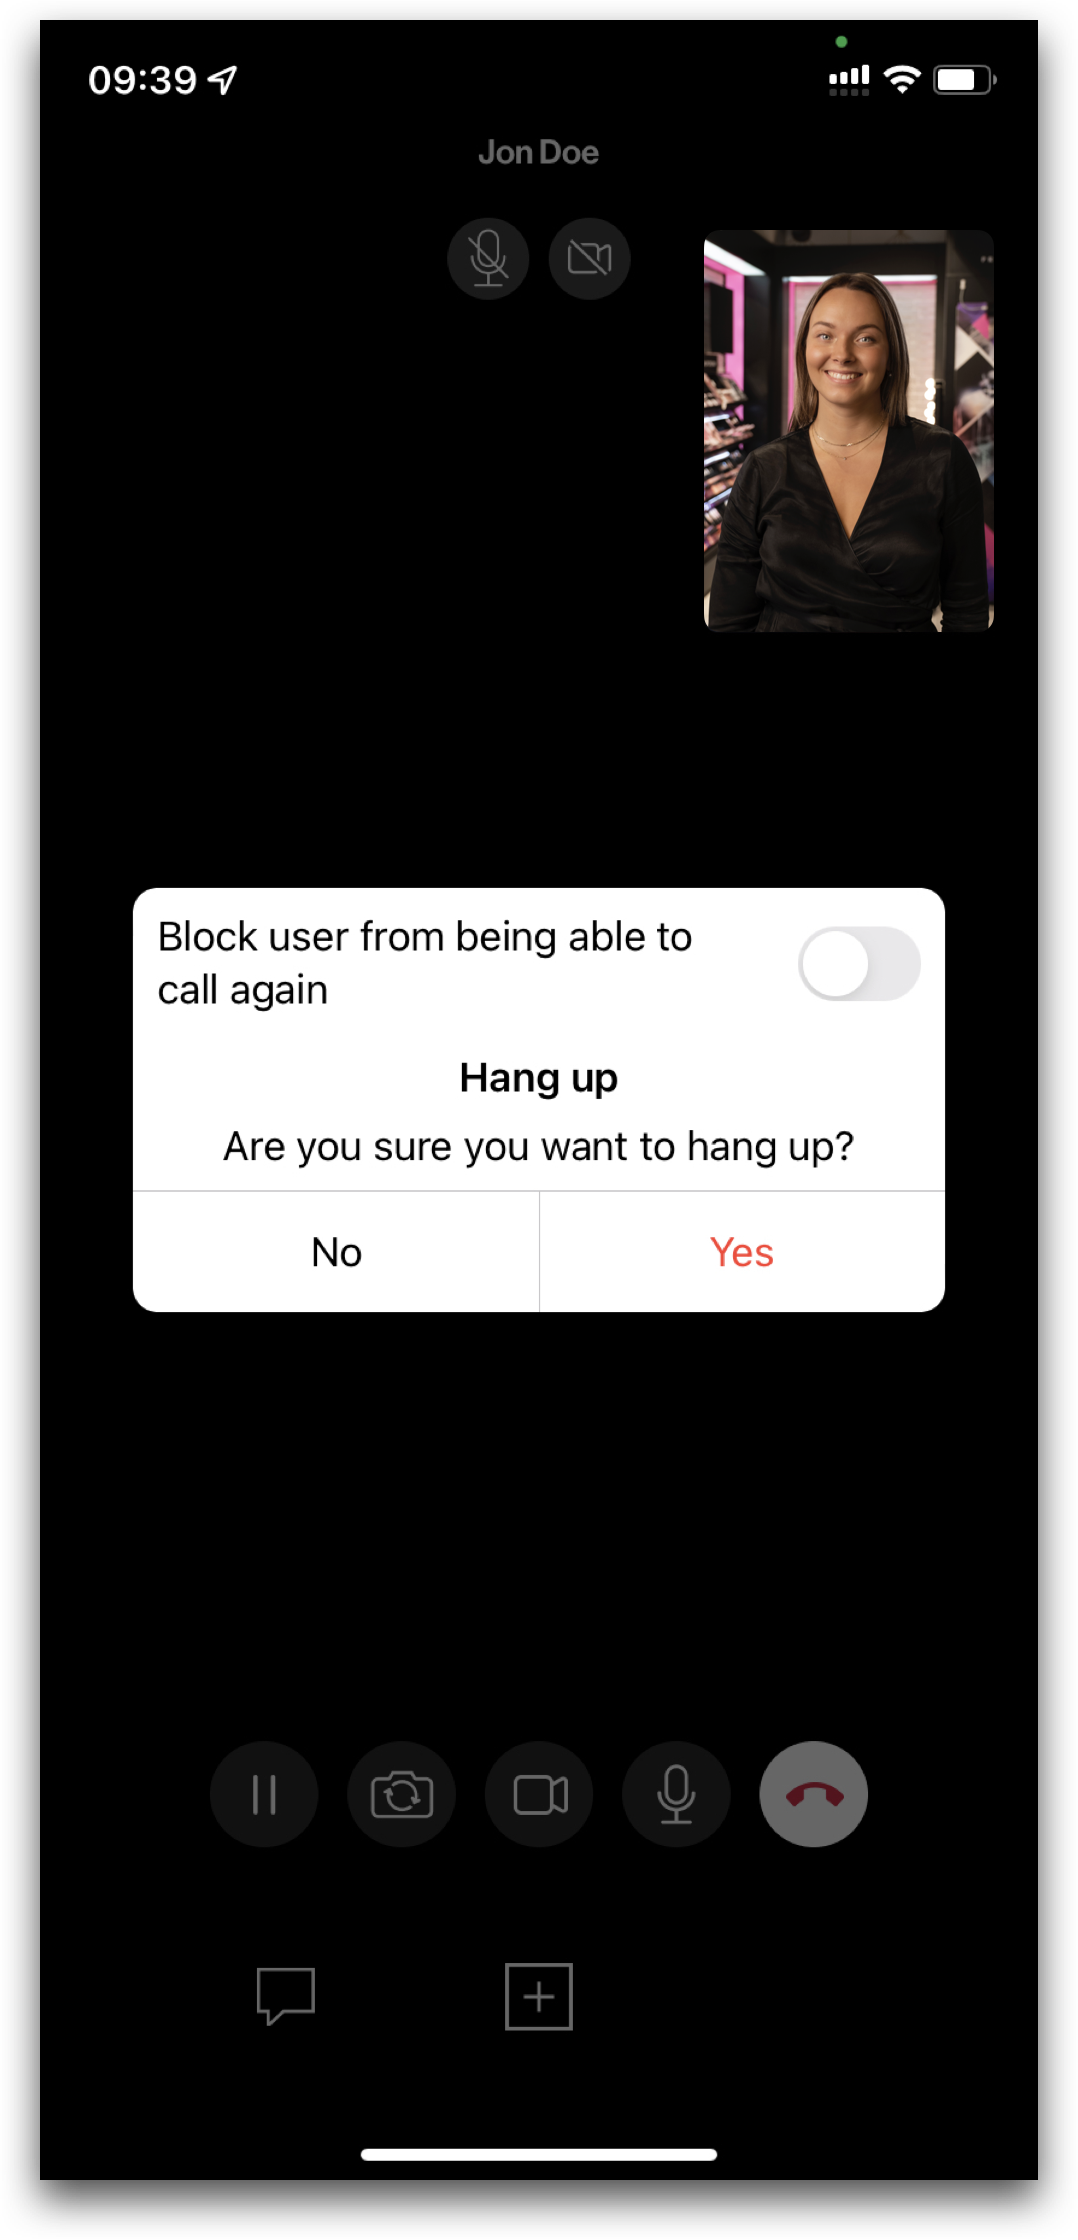
End call button |
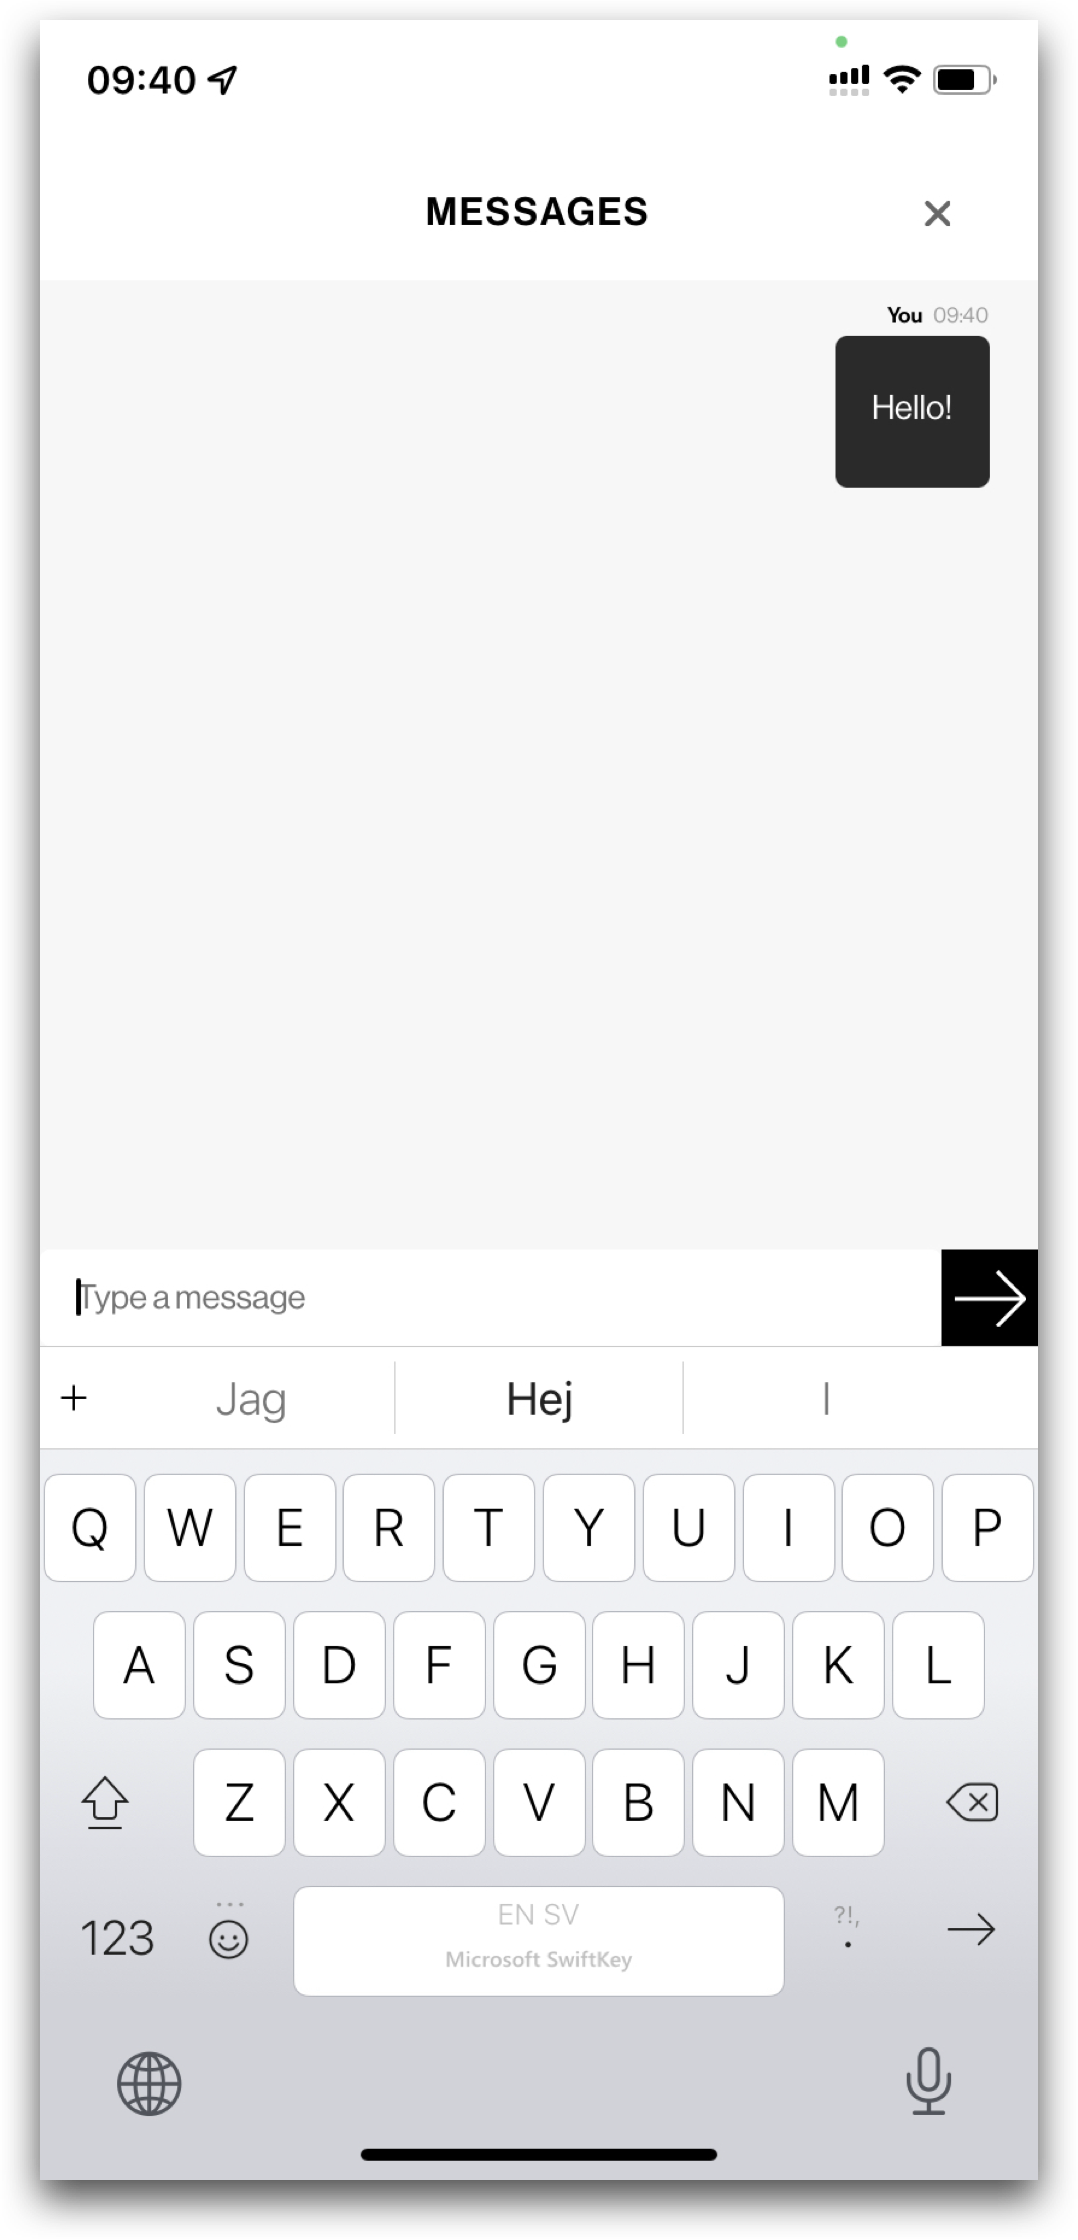
Chatt button |
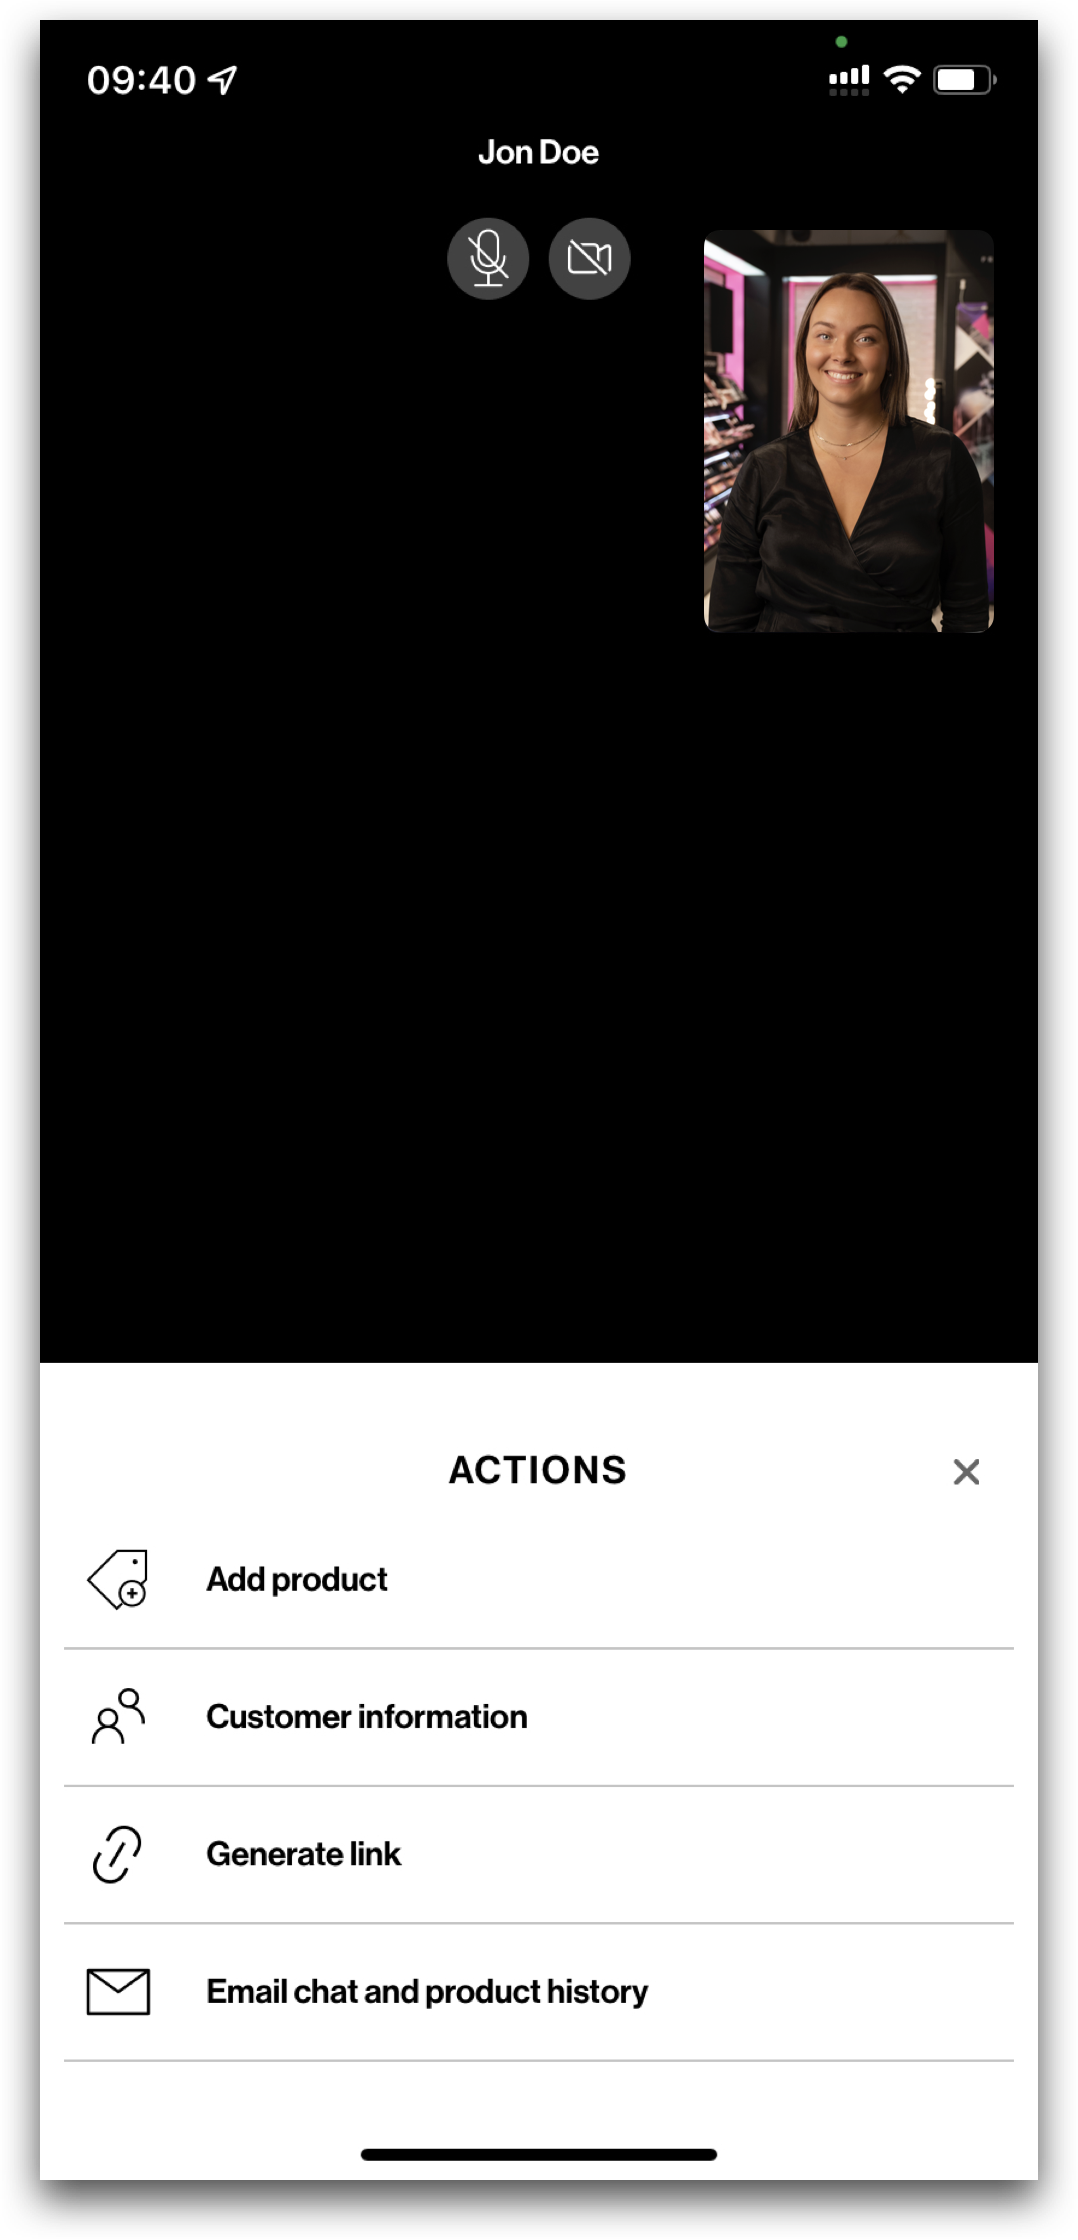
Action button |
 |
 |
 |
| Customer information |
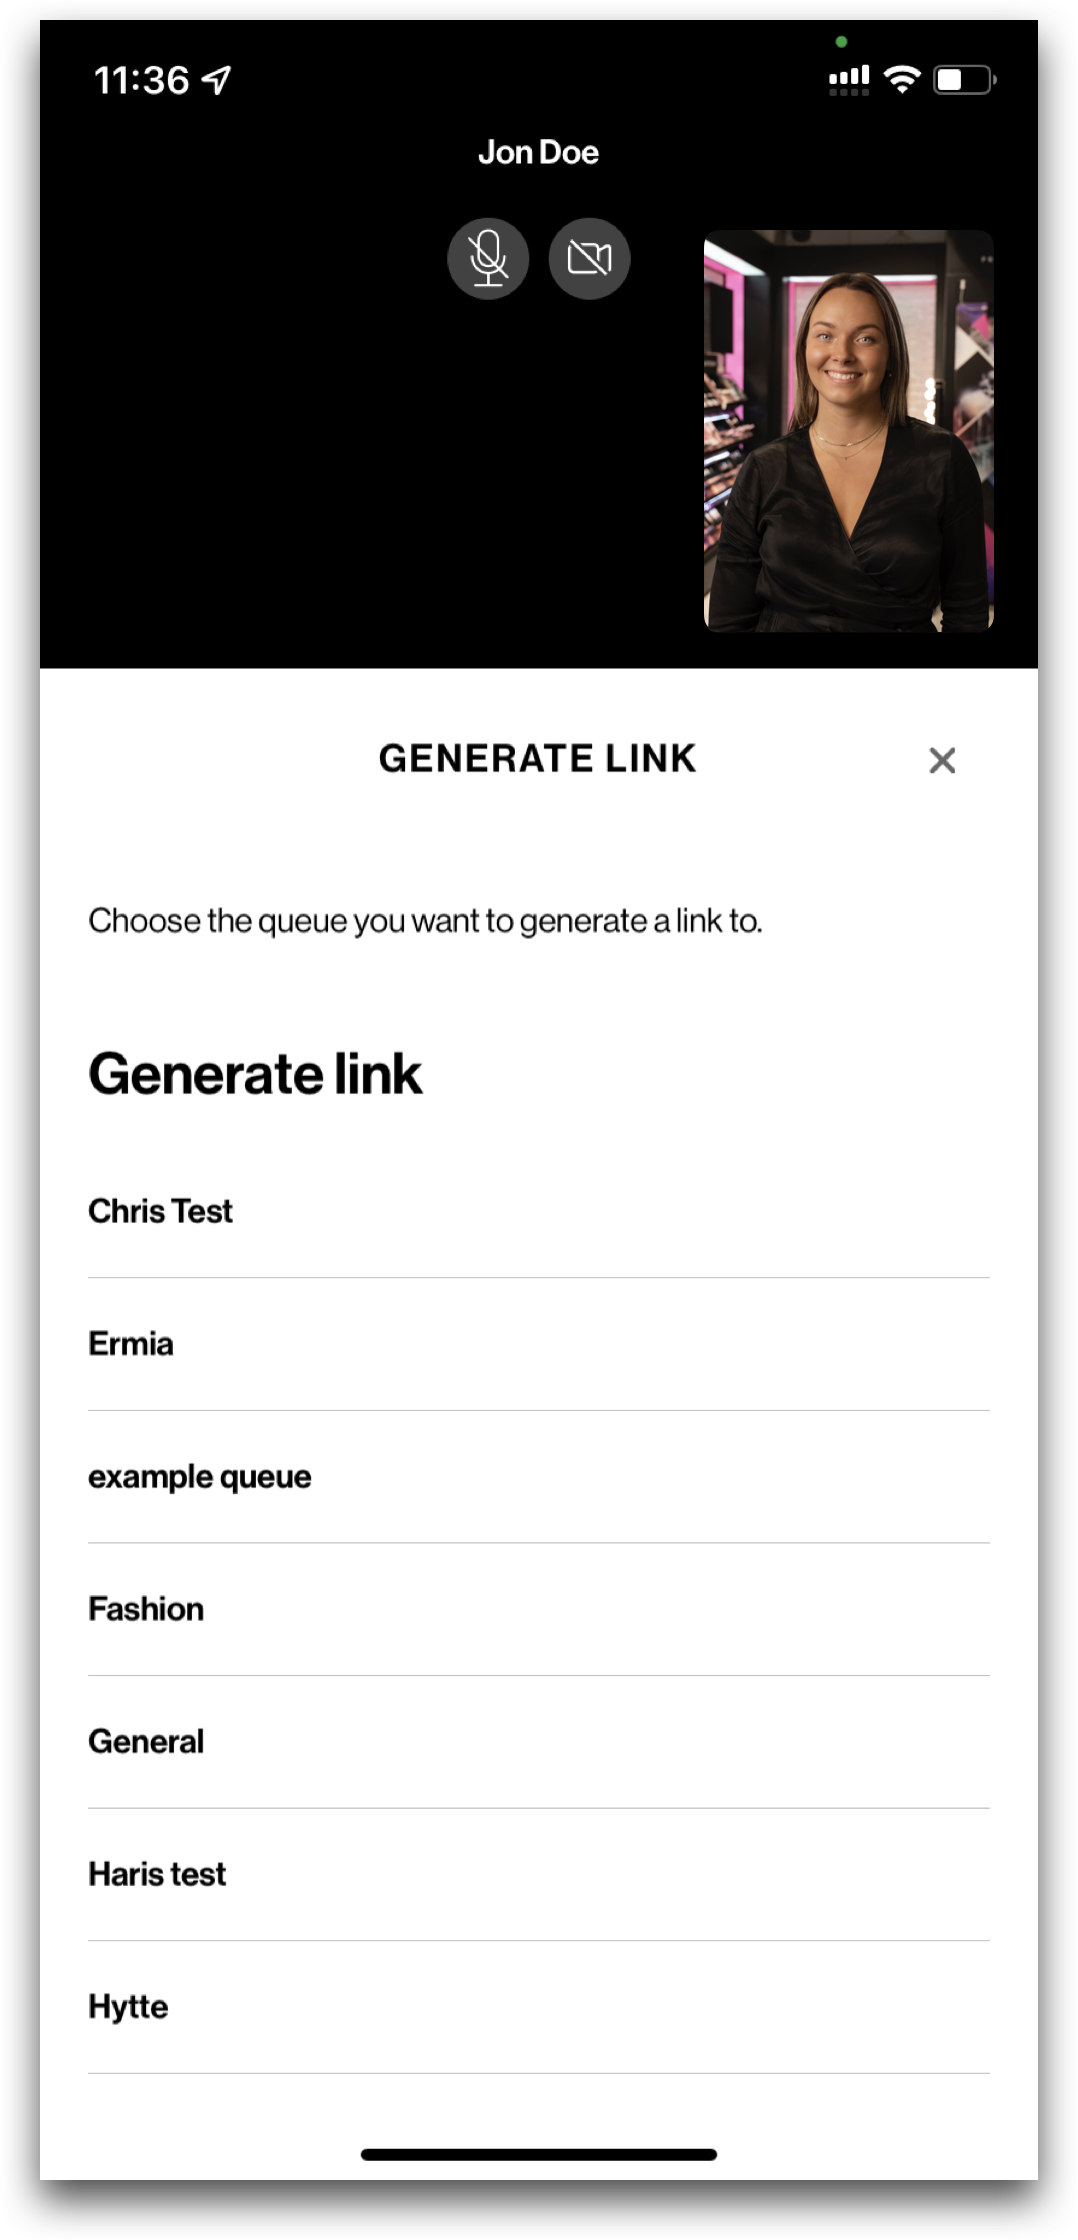
Generate link |
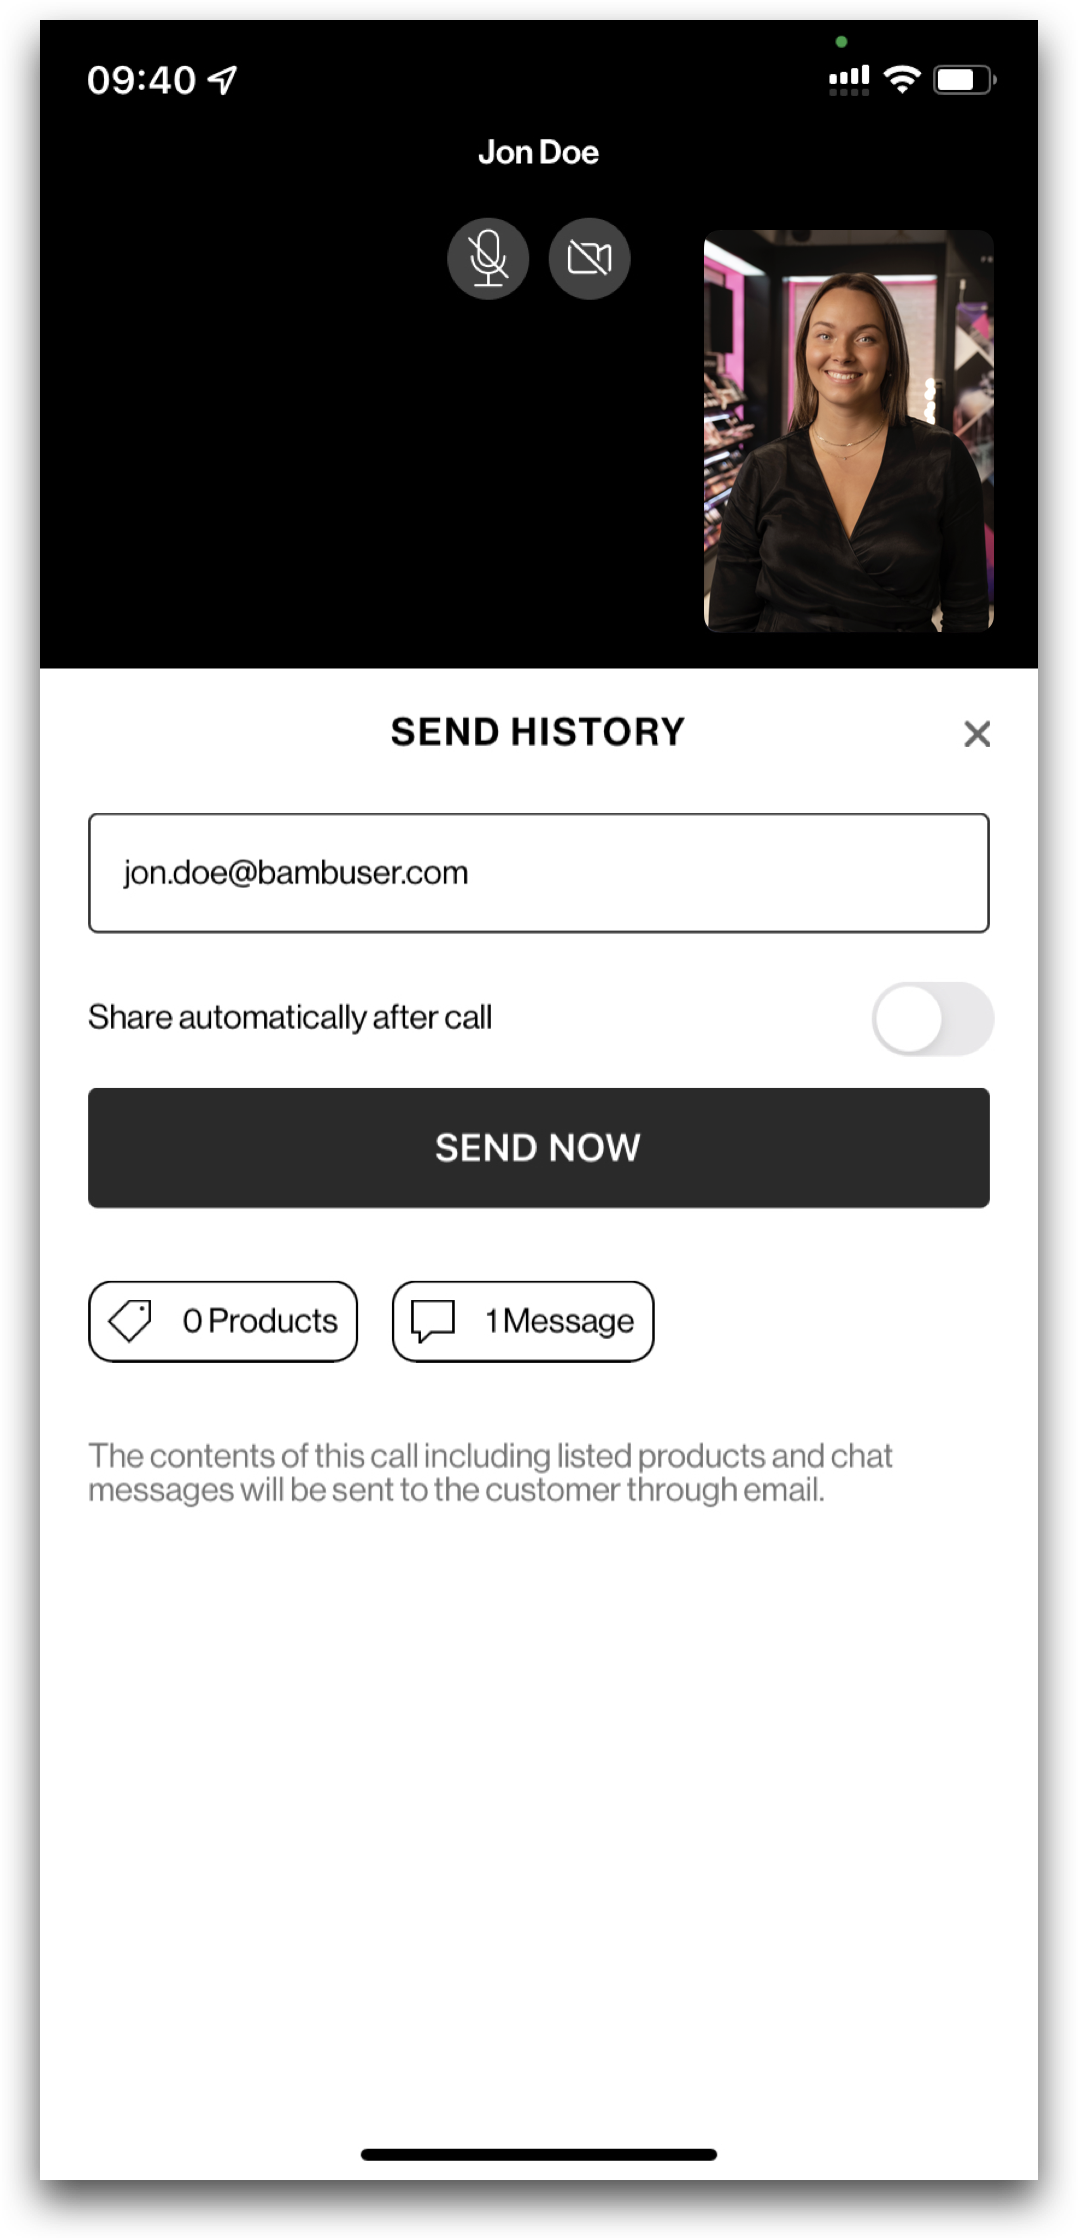
Email chat and product history |
|
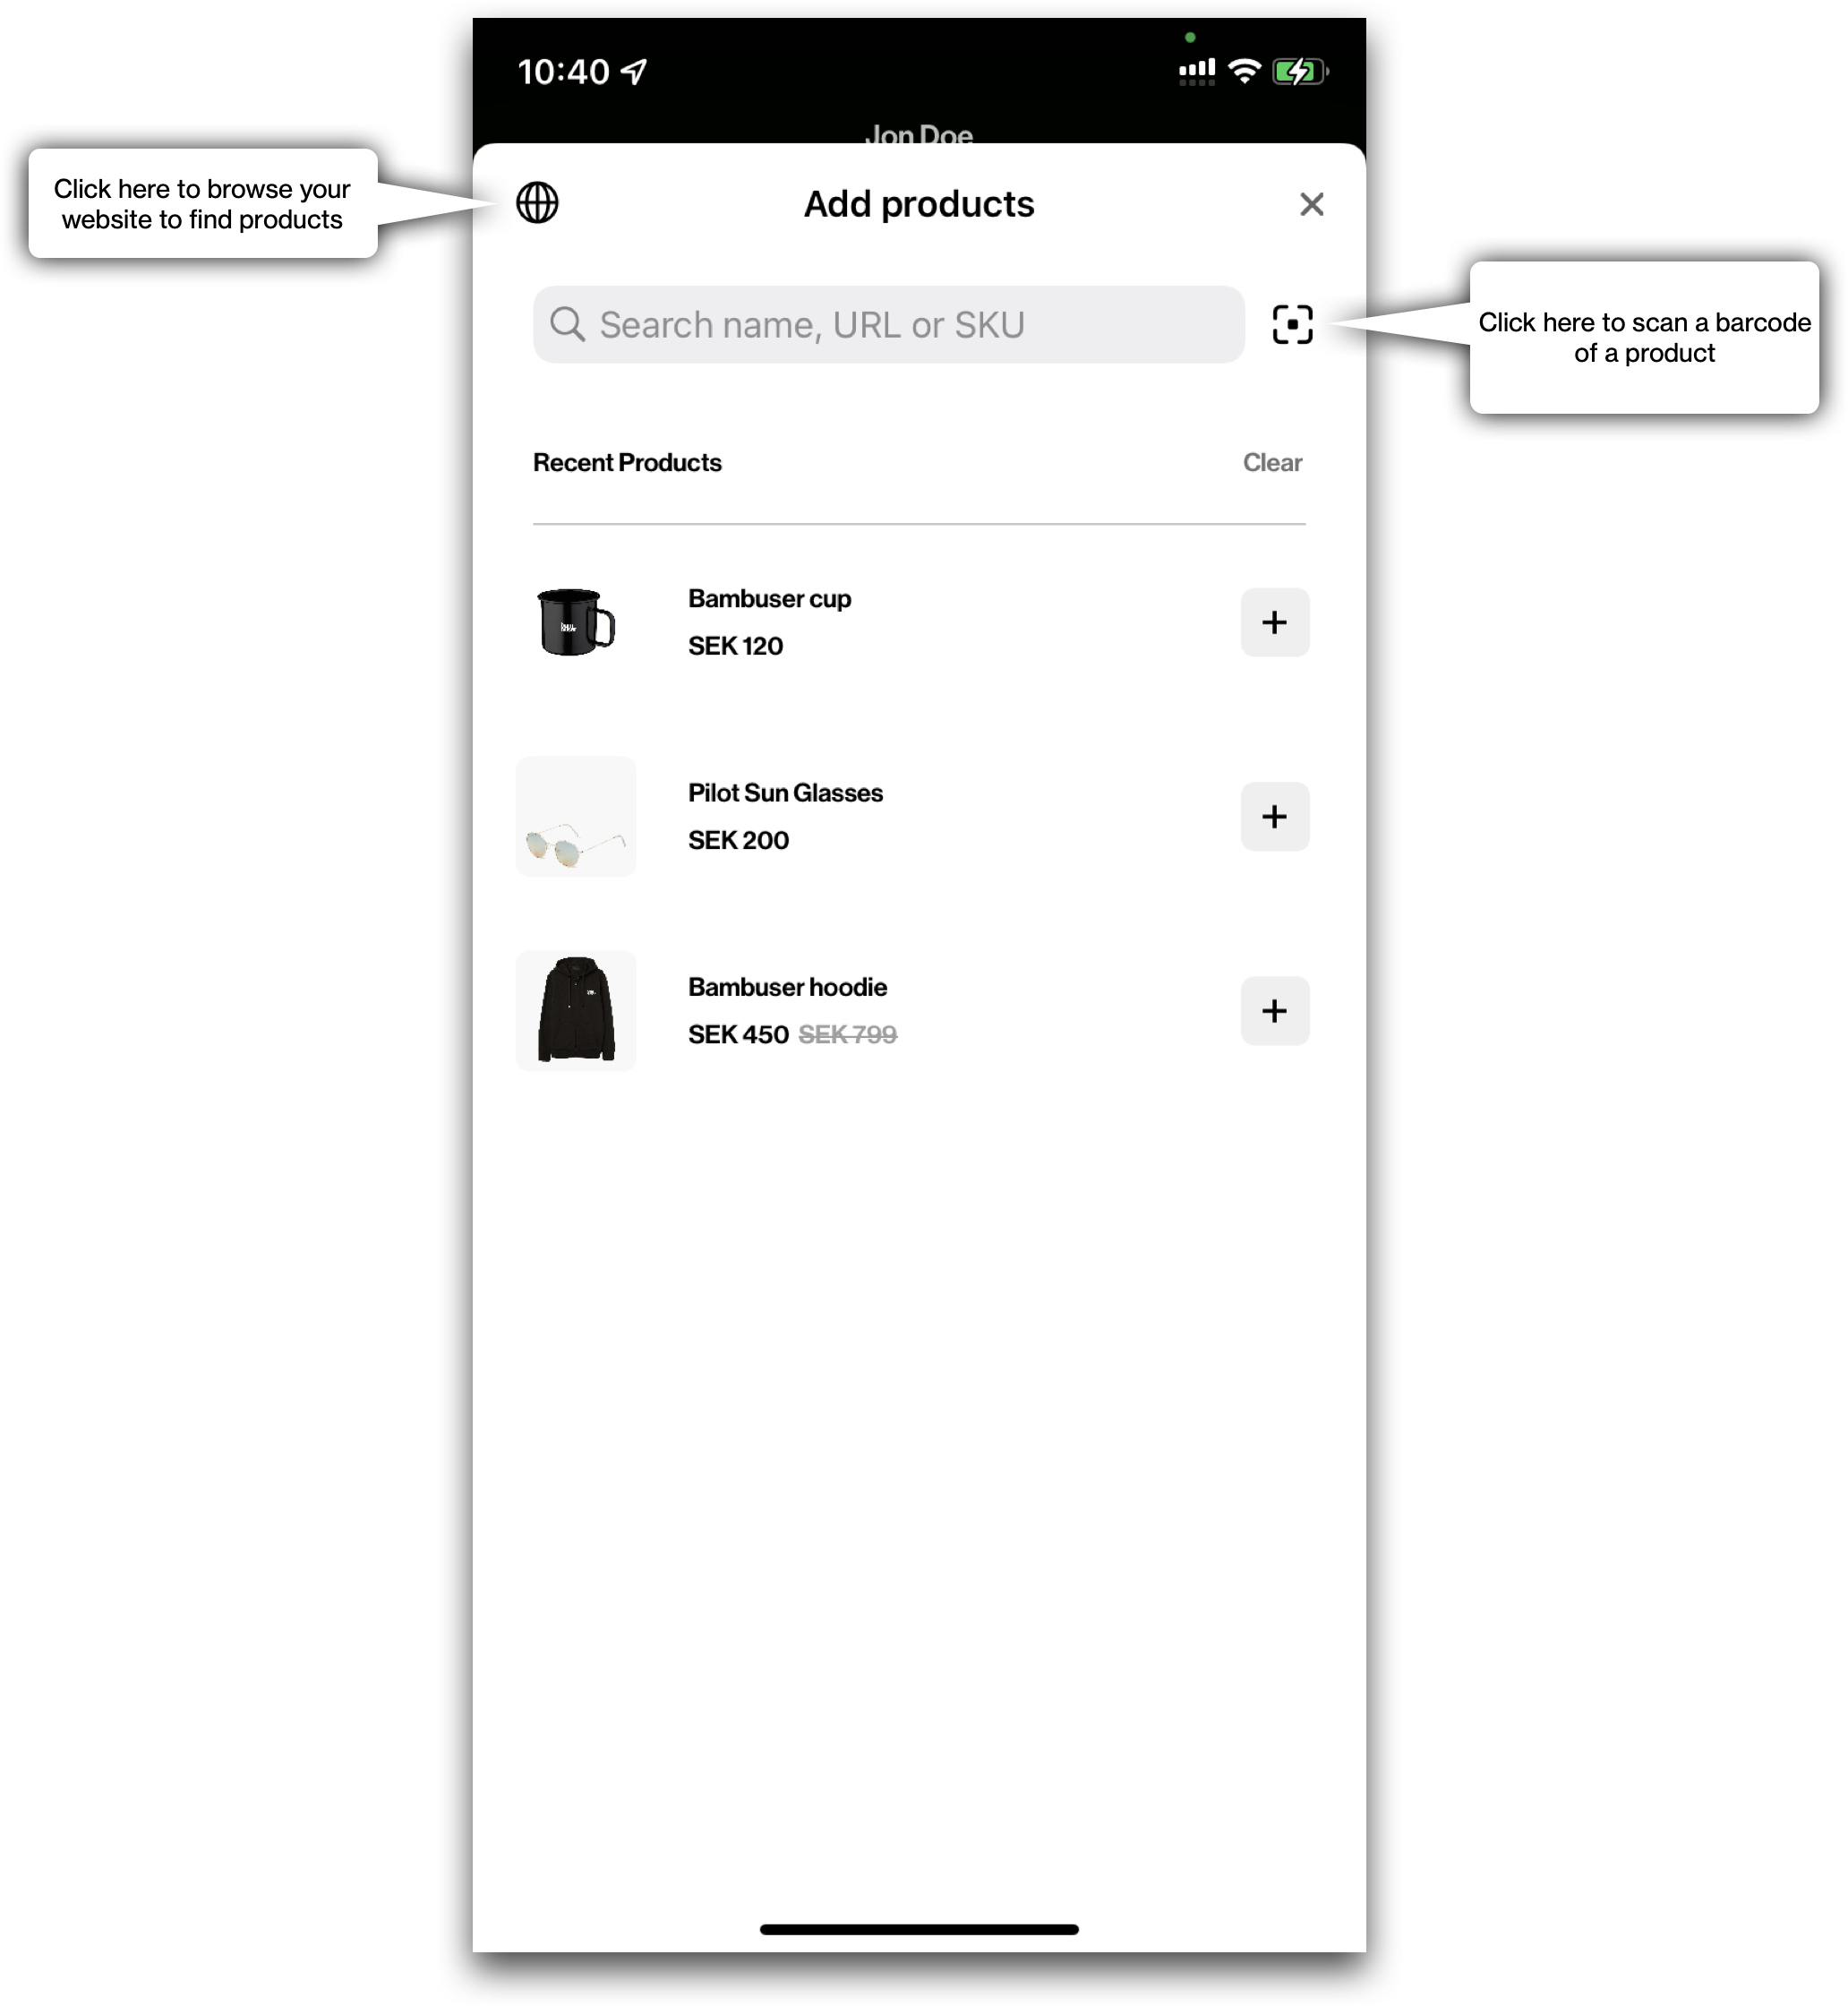
Add product(s) to the call In the Add Product tab, you will be add products to show the customer. You can add products directly from your website by browsing, or by search, and/or scanning a barcode with the camera on your device. To start, click the ADD PRODUCT button. |
 |
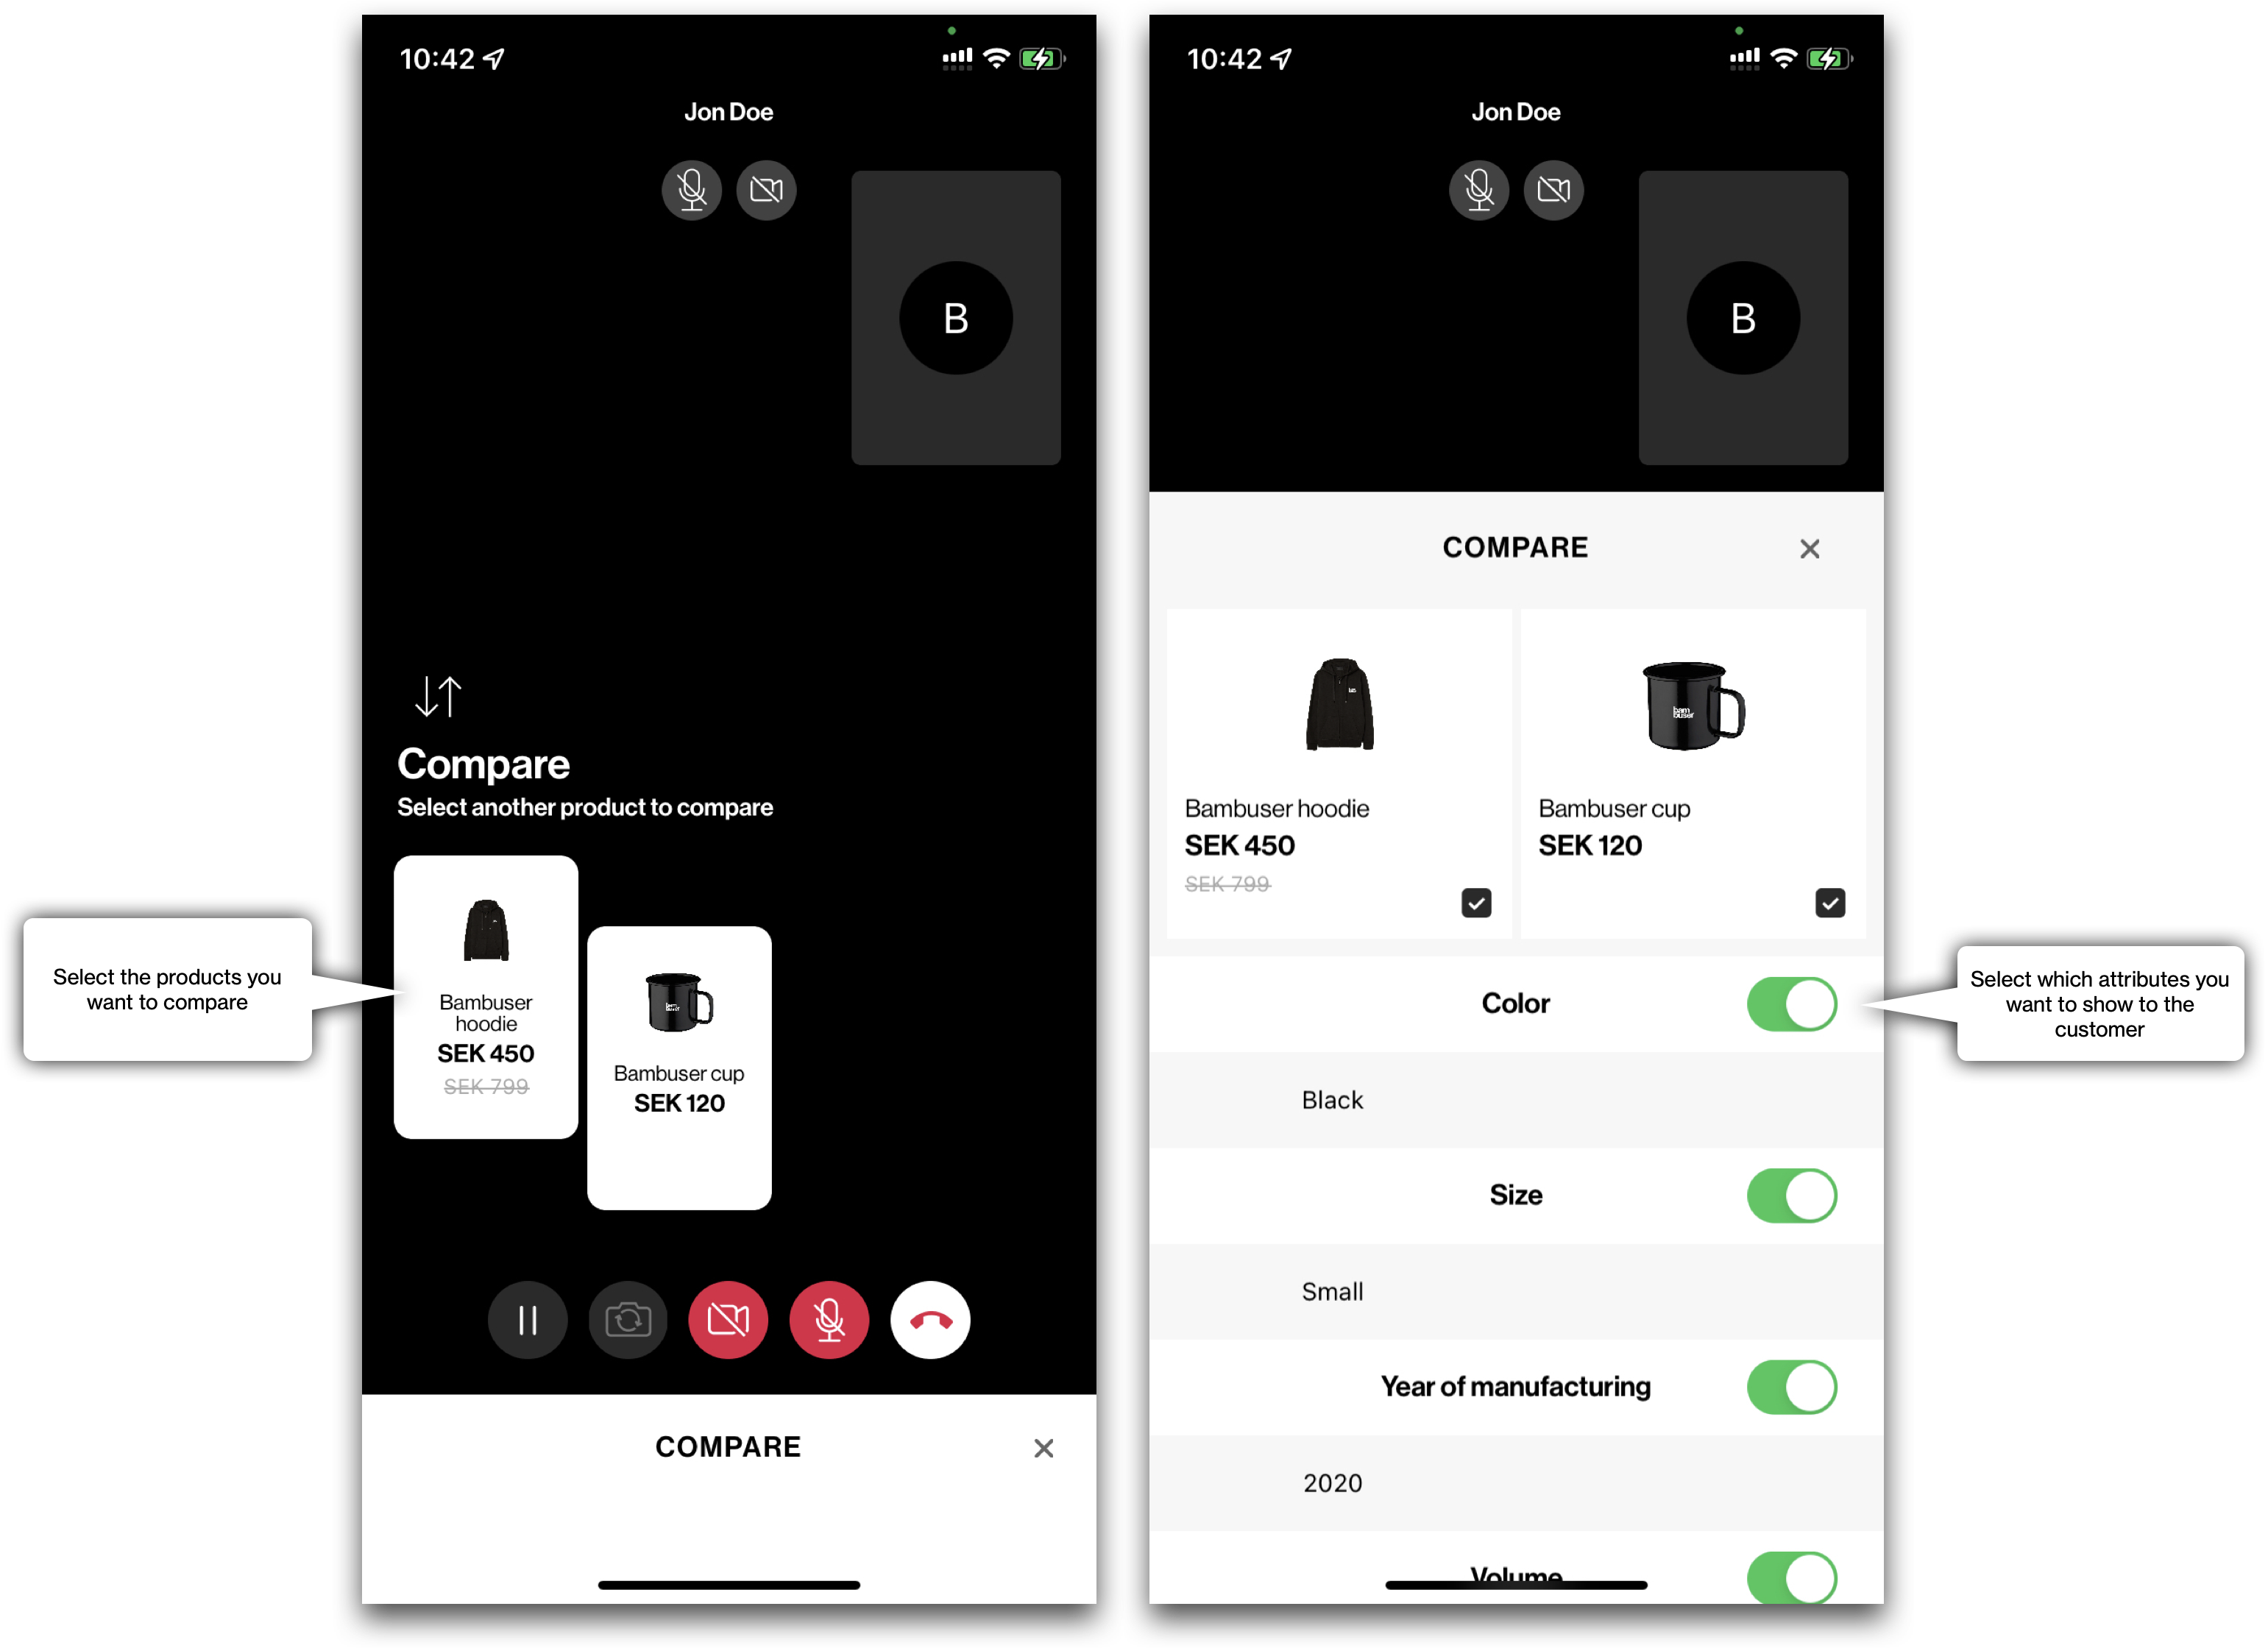
Adding products to the compare view
An agent can add products to the compare view. First select which products you want to compare. When the agent compares the products they will be shown to the client as well. An agent can also choose to hide one or more of those attributes.
|
Adding products to the cart When the agent adds a product to the cart, the caller will see that the state of the cart has changed, by the counter next to the cart updating. |
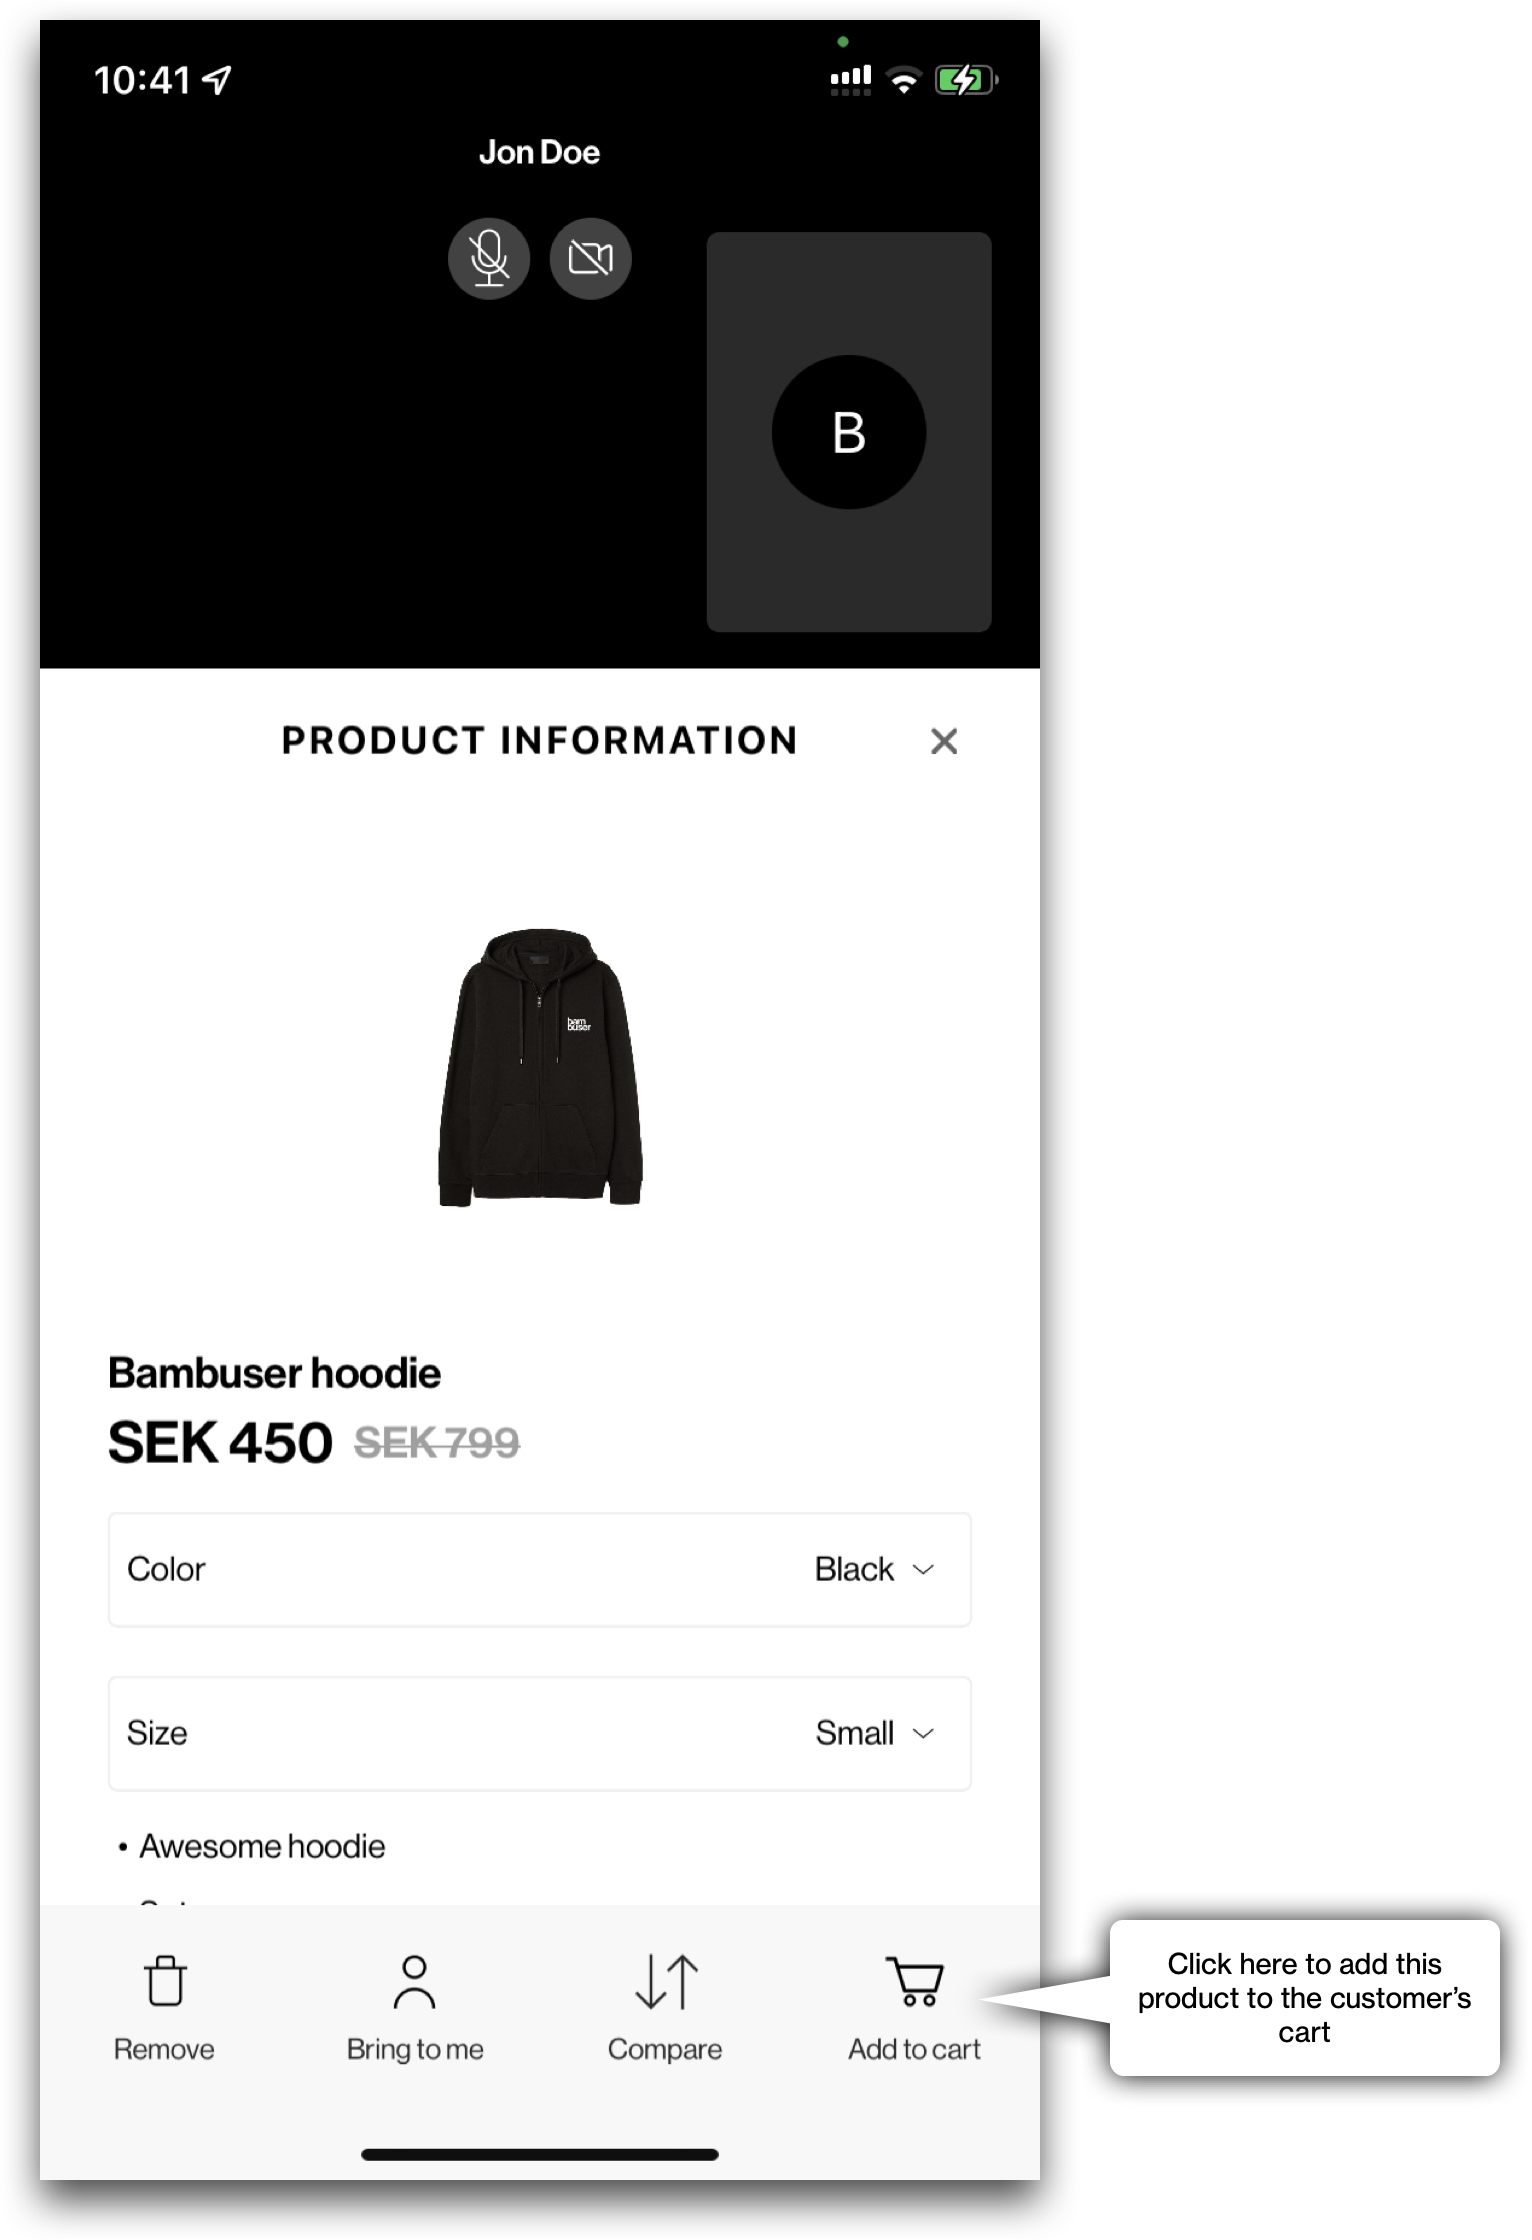 |
|
Finalizing the call with the customer Once a product has been added to the cart, the customer is free to check out the products, and the agent will be notified when the customer has entered the native checkout. When the customer goes to the checkout, the call minimizes and the agent and customer can still talk to each other. The customer can always return to the call by clicking on the minimized call on their screen. From here, allow the customer to wrap up the call with the agent. Once the call has ended the agent will be returned to the home screen again to accept new incoming calls. |
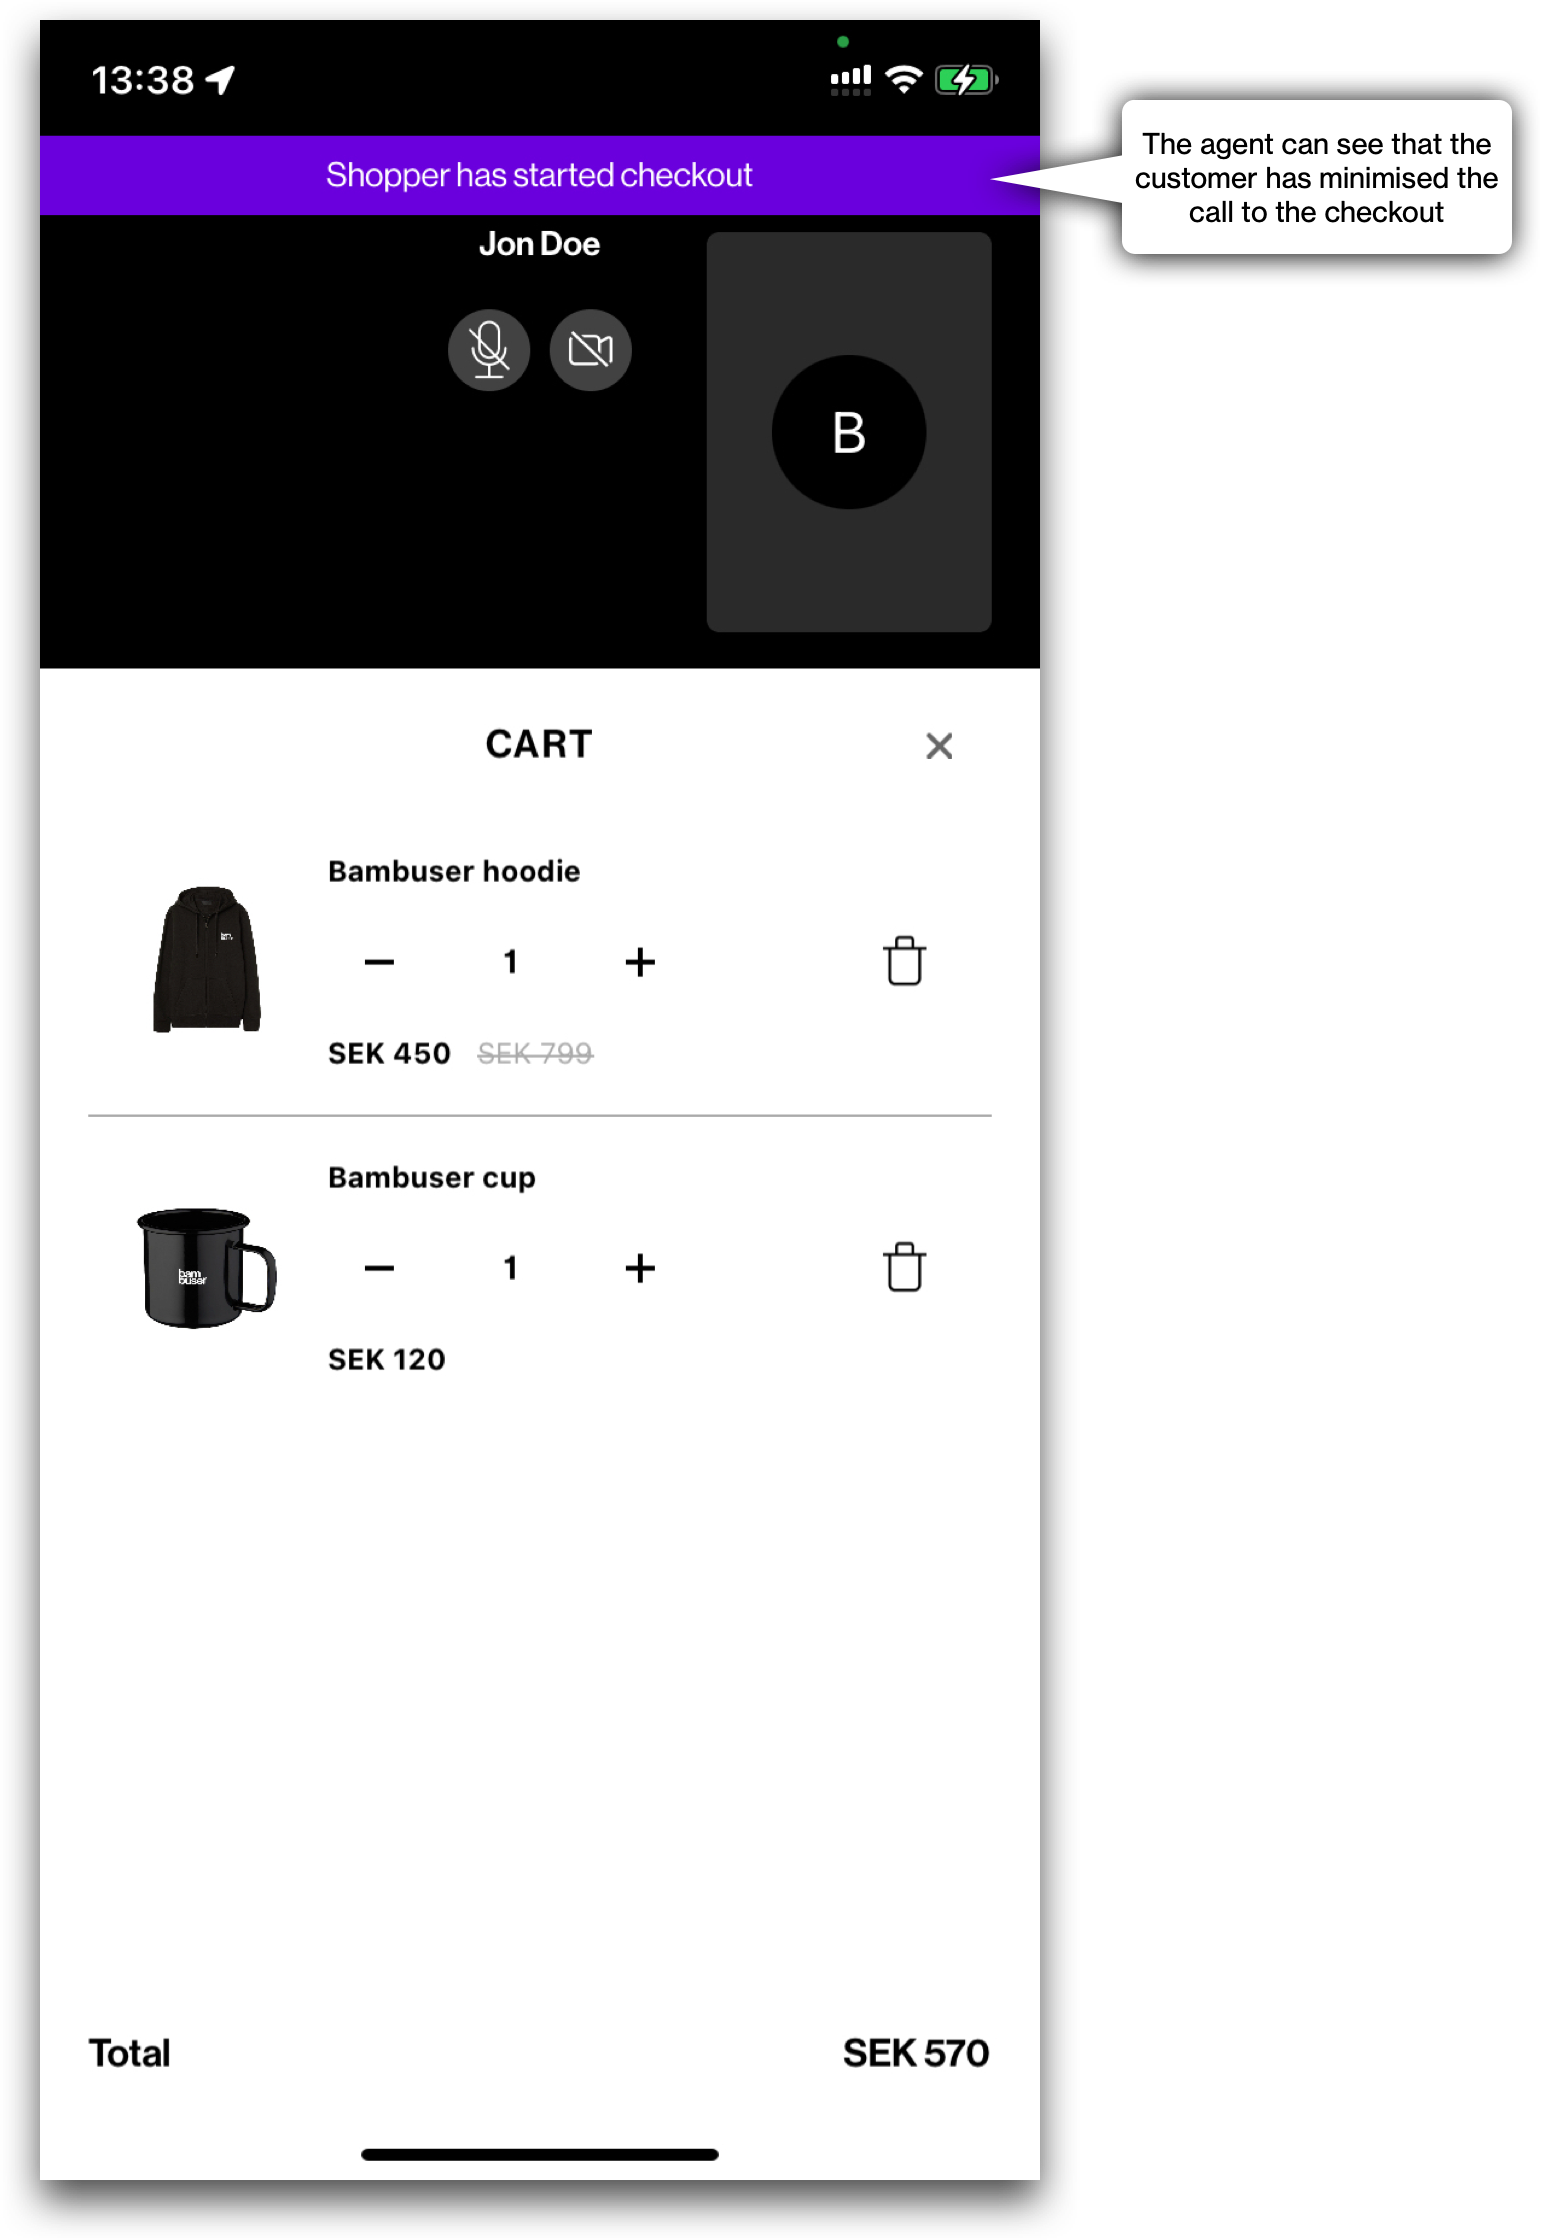 |